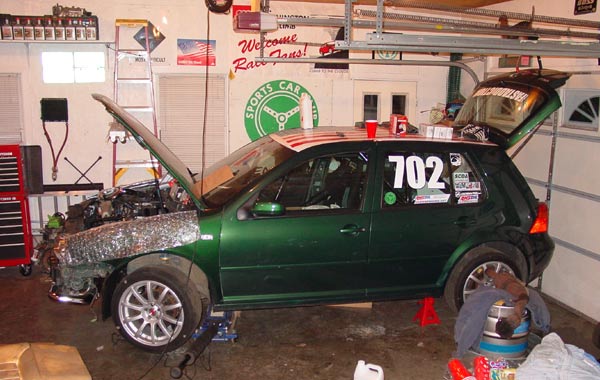
The past two days were productive.
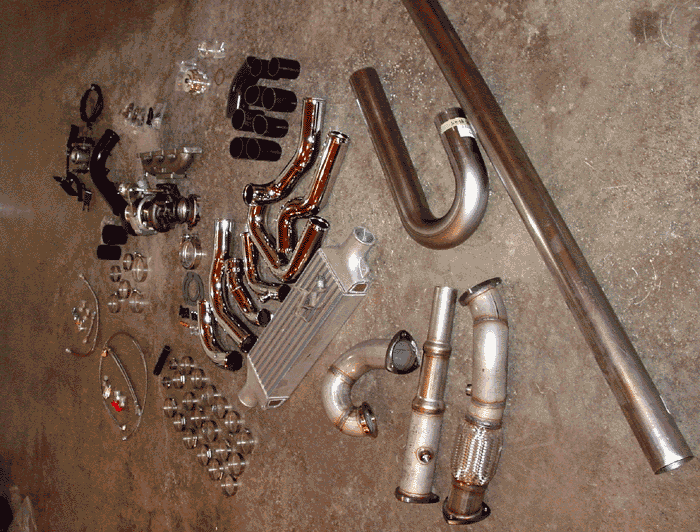
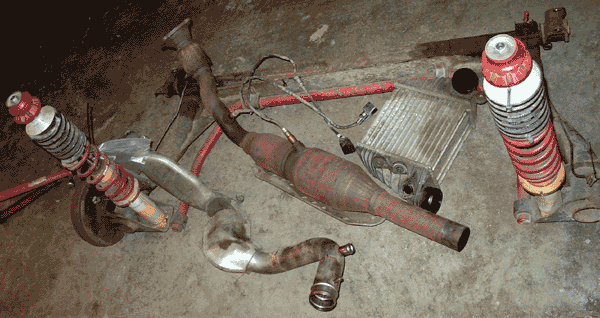
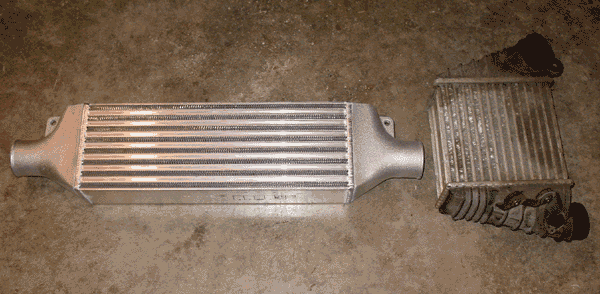
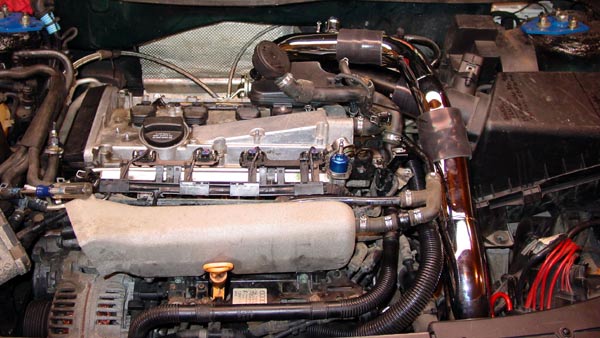
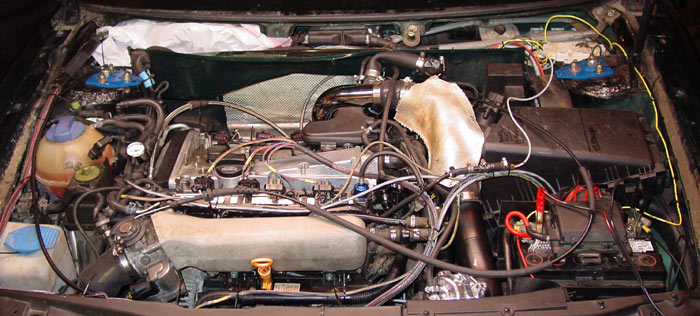
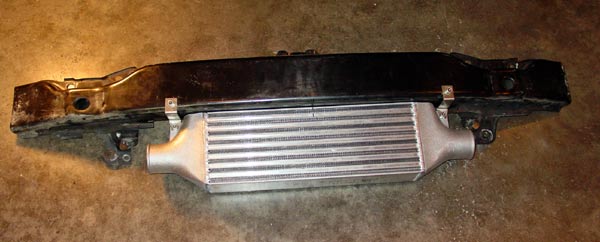
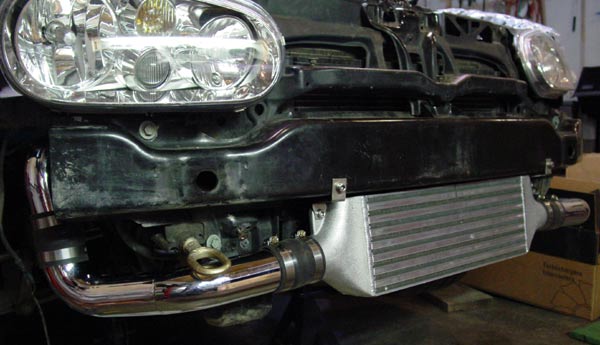
The FMIC has been installed and most of the plumbing is done. I did not connect the tubing to the intake yet as I need to change the throttle body from DBW to DBC. I have not installed the front bumper cover yet (will require some shaving). The installation was a bit of a pain… I had to cut the lip of the bumper bar so that IC would sit flush against the bottom of the bumper. Per ATP’s instructions, I had to cut the lower radiator support, but after I finished and reviewed the work, I have no idea why I had to cut it. The IC doesn’t hang anywhere near the radiator support. Looking again at ATP’s instructions, it looks like the IC in the directions is different than what I actually had to install. There was some wasted time. I cut part of the battery box base (I do not have the battery box anymore since it was a causality of the rollover) to make room for the pipes. I also had a little problem clearing the headlight (throttle body side), so I cheated by removing the back cover of the headlight for clearance.
IC mounted to the bumper/rebar:
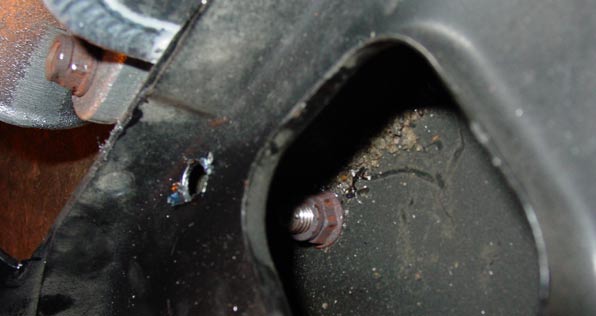
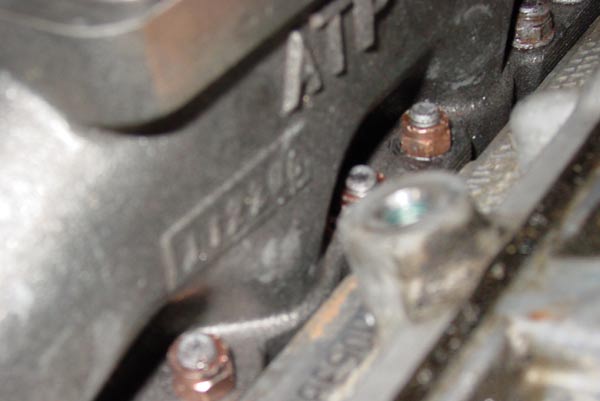
I had to drill a hole all the way through the second layer just so I could see. Then I worked an open-end wrench with the nut duct taped to it over to the correct position. The photo is at a sharp angle so you can see the nut.
Mount on the car with the tubing. I had to put the tow hitch at an angle (I want to leave it mounted on the car)
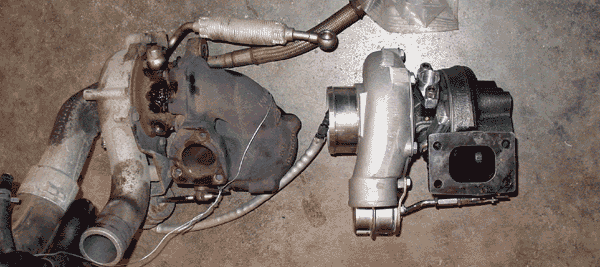
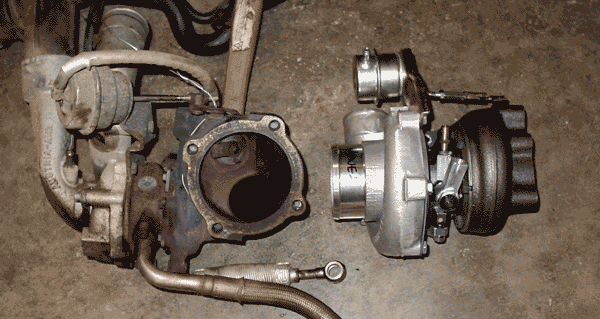
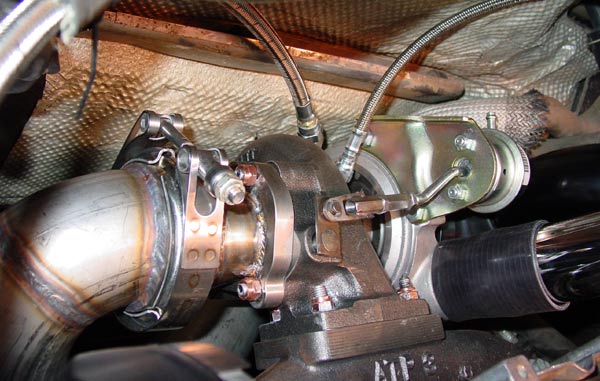
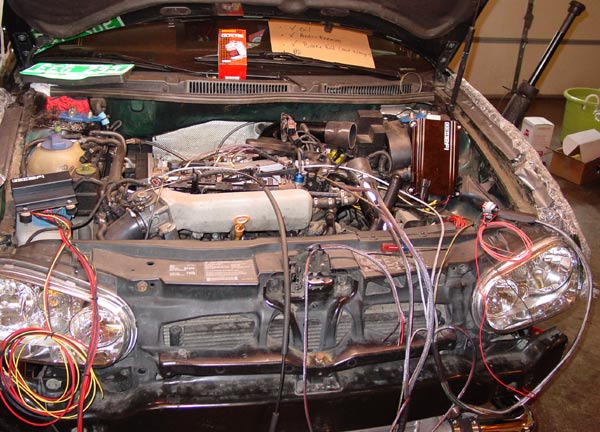
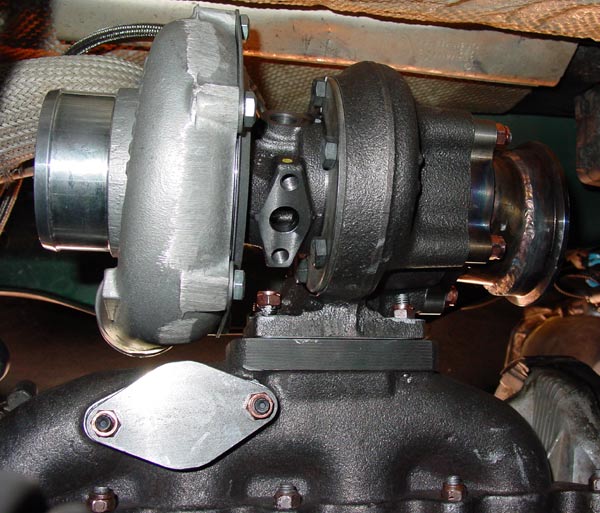
The removal of the old turbo was very difficult with the “you can’t see them, but they’re there” oil/coolant lines and miscellaneous bolts/nuts. Installation of the new oil/coolant lines looks like it will be much easier since I can see all the connections because the turbo doesn’t hang below the exhaust manifold.
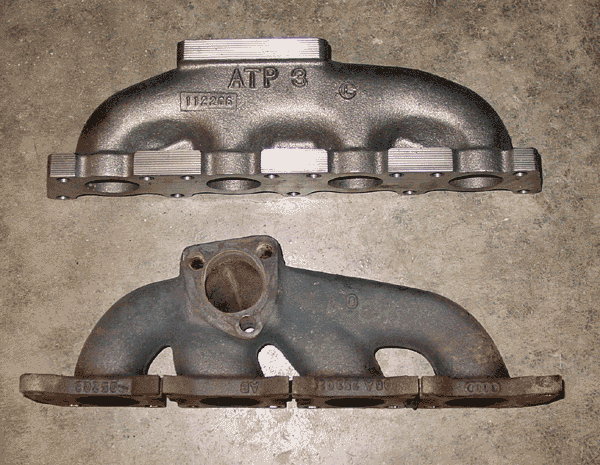
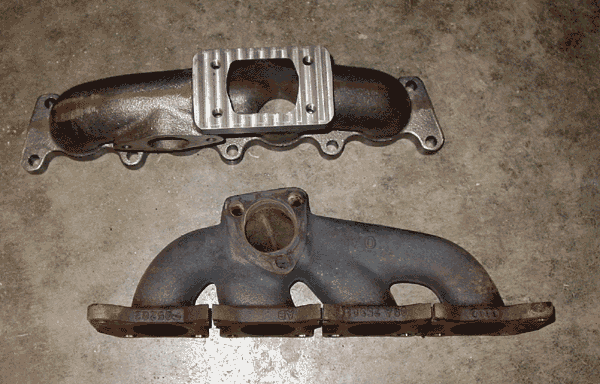
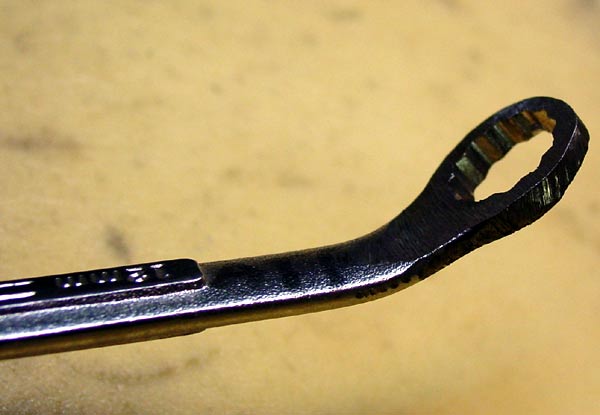
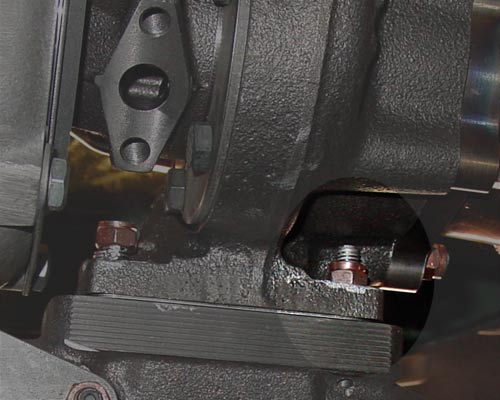
Installation of the ATP manifold was a royal PITA since it was impossible to see the nuts and even move impossible to (a) get an open-ended wrench on the nuts and (b) to be able to swing the wrench to tighten the nut. Well, I don’t think Sears will take back my 12mm combo wrench after I shaved it down to make it thinner both in depth of the wrench and the thickness of the round part. I also bent the wrench to allow for the swing. It actually worked quite well. I wish I had thought of it before (as does my friend Nick) since Nick tighten (mostly) the hard to get nuts with the open-end wrench over the course of an hour. I just had to tighten them with the modified wrench.
Hard to see/work with nuts:
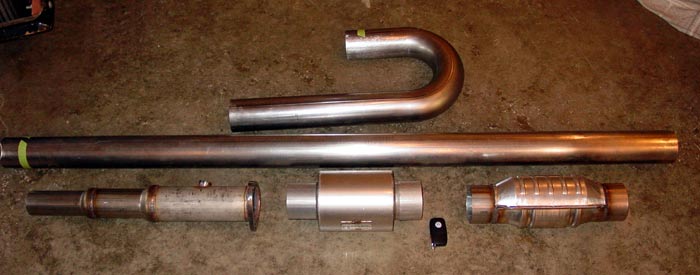
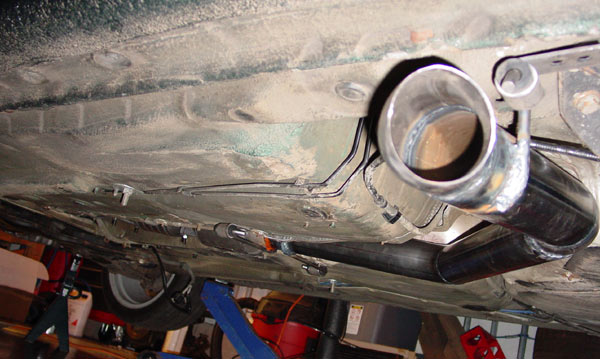
The fabrication:
I hung the turbo last night. Good thing I didn’t start tighten the top nuts because one of the bottom nuts required the turbo to be at the end of the stud to be able to fit the nut between the turbo housing and the top of the stud. I was able to tighten all but one of the nuts since I needed a 12mm combo wrench. Hmmmm, somehow my 12mm got bent and didn’t work here.
Turbo partially installed:
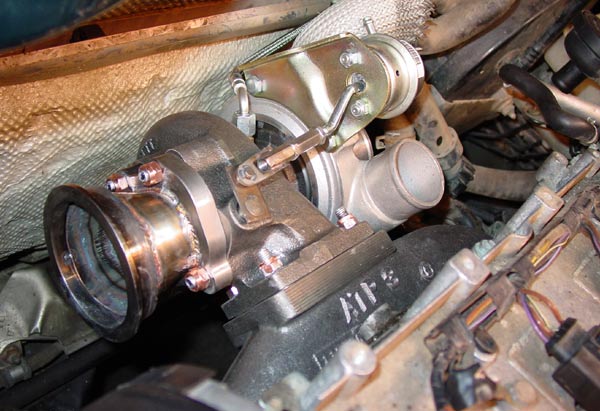
The nut that had to be installed first (lightened area) and the nut next to it (left side of image) that I couldn't tighten without a straight 12mm wrench):
The turbo from the bottom:
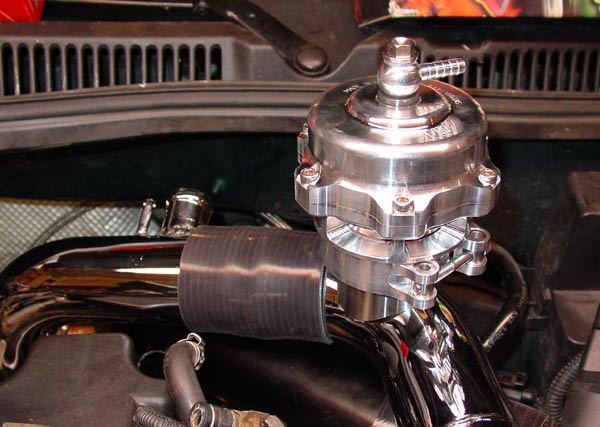
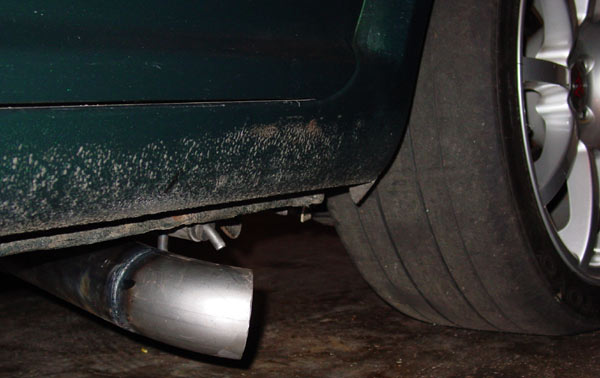
Hopefully tonight I will be able to install the oil and coolant lines and complete the intercooler pipes. That leaves Wednesday night to install the FPR, injectors, and BOV. If there is time, I get the exhaust completed.
EDIT: Didn't get a chance to work on the car tonight due to an SCCV meeting followed by the gym.
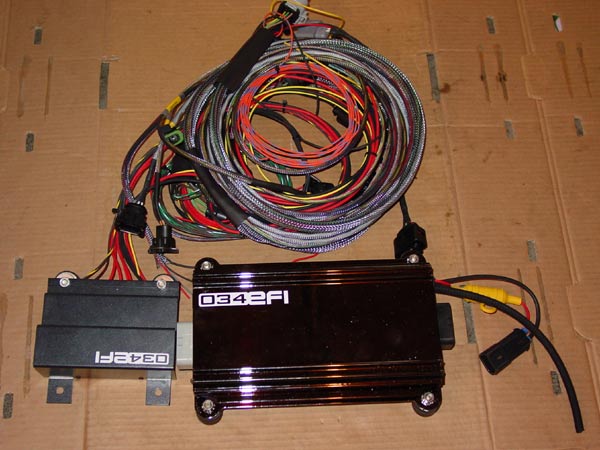
The engine management should be in the mail to me today. Hopefully I will be able to get that on by Monday (busy this weekend drinking that 1/2 barrel of Switchback).
I need to get to Fast Addiction to pick up some last minute items.