Re: Project: 2001 1.8T Golf IV
Posted: Mon Oct 03, 2016 11:56 pm
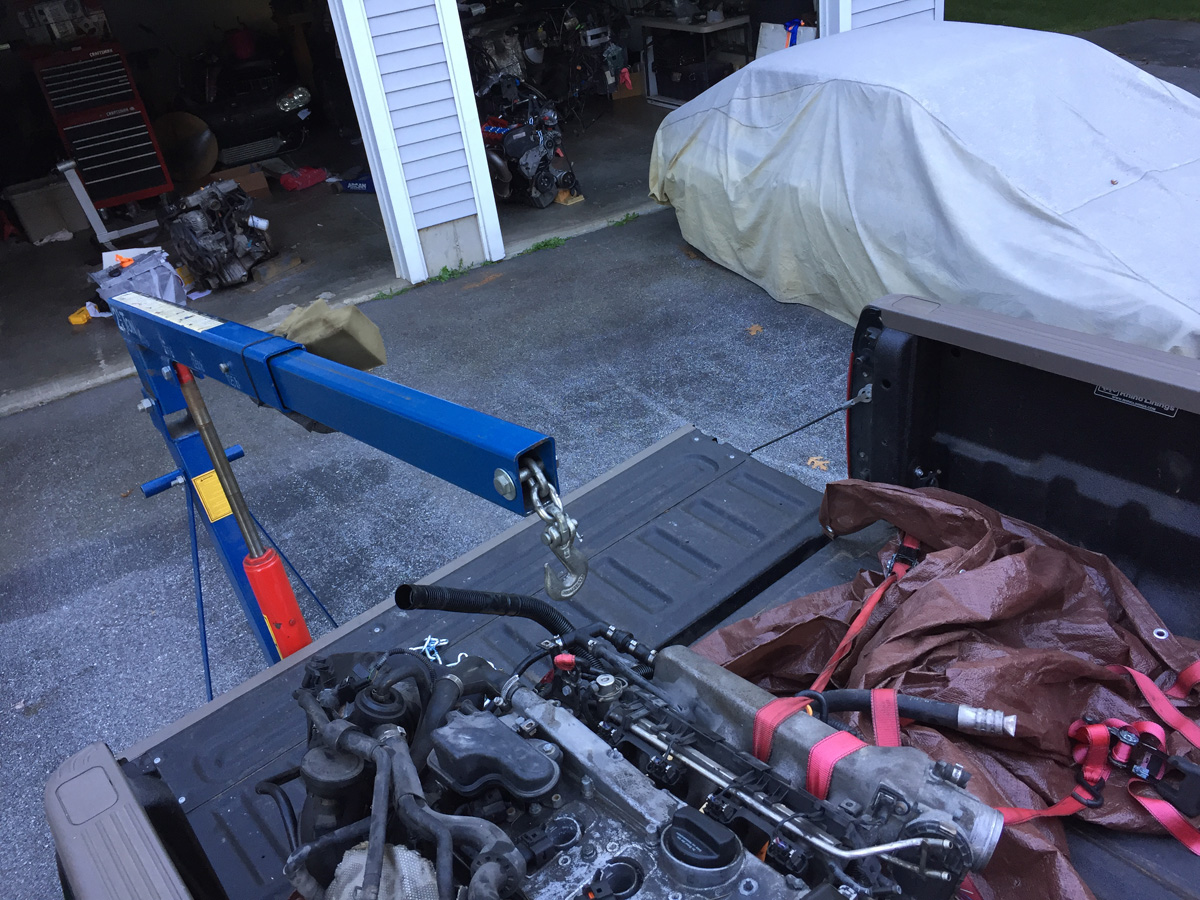
And the other half of summer.....
Spending time rebuilding an engine with no corners cut... well, one, but that was by accident. I did pay for it.
I had one of these for my Rabbit, but never for the 02J (5-speed) or 02M (6-speed).... that usually involved vice grips and screwdrivers. Enter the proper flywheel holder (not recommended for the crankshaft bolt). Easy to use and very effective.

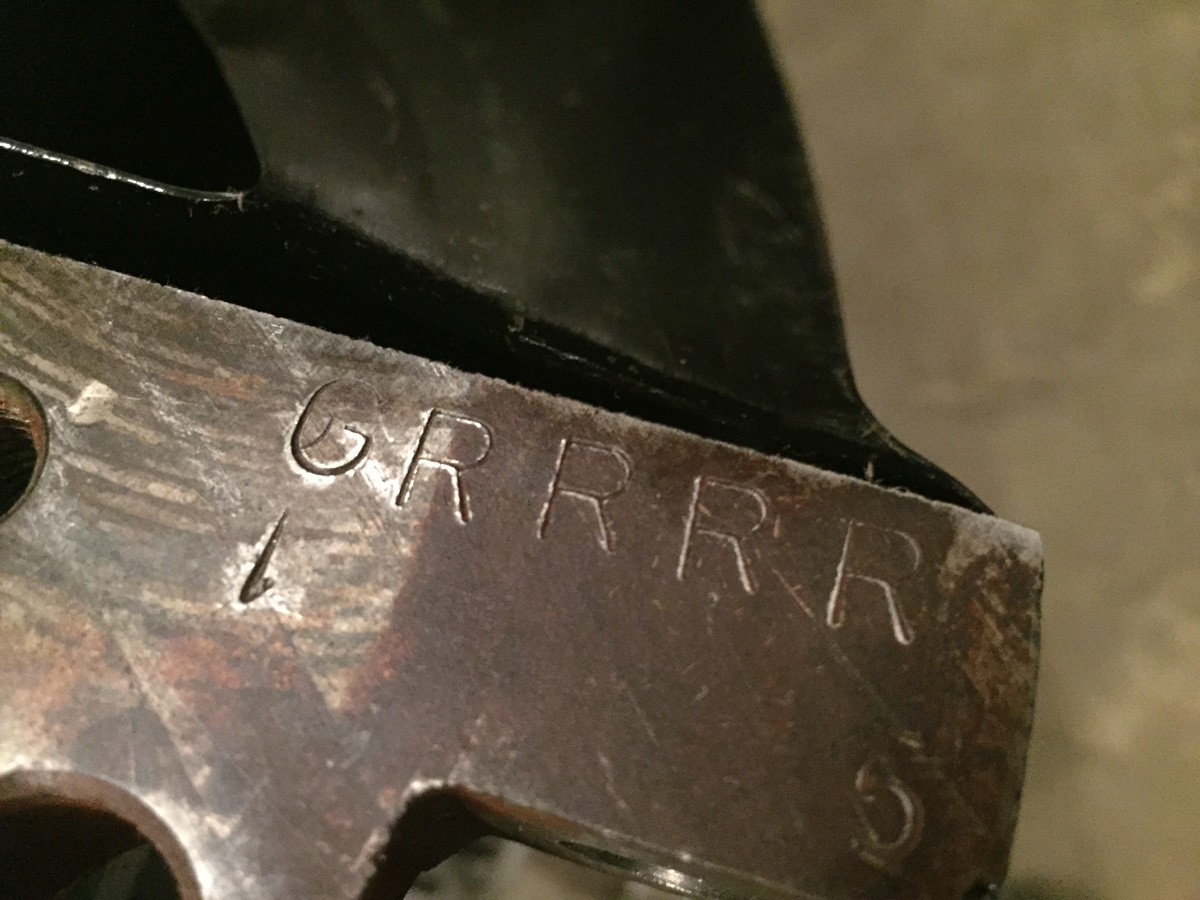
The new block code is "Grrrr".... no idea what it means, but it seems fitting.
Nothing too exciting from the engine build point of view. Bored the block to accept the .5mm oversized piston (82.5mm vs the standard 82mm), new valve seals, new rings (naturally), and everything was cleaned and machined by http://www.rpmenginesvt.com (Georgia, VT)
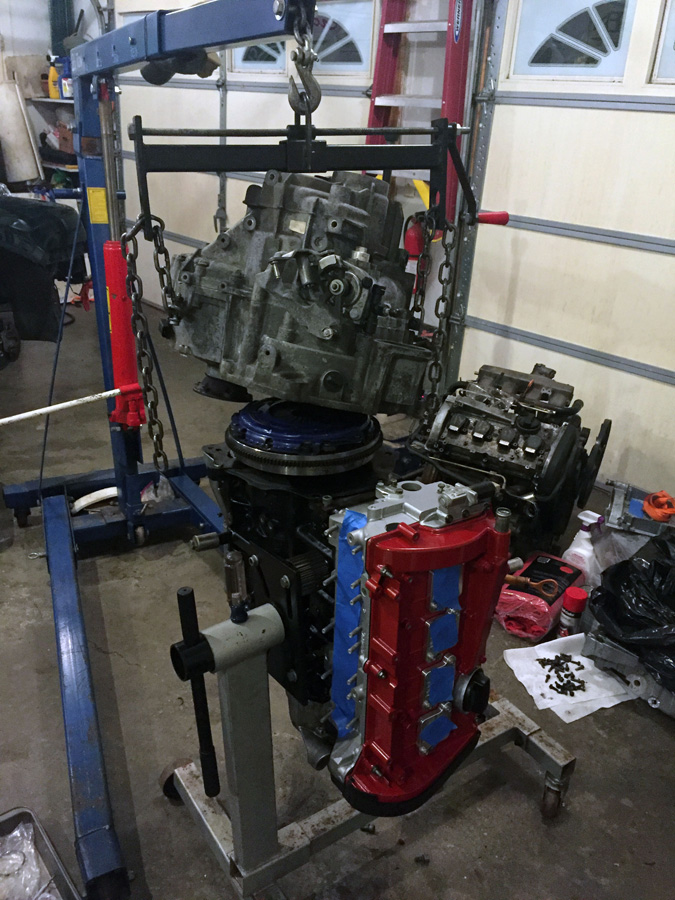
Add on the transmission... my new favorite (and easy) way to install the transmission.... unless you have to bolt on the oil pan afterwards (where rotating the engine/trans as a single unit is a royal PITA).
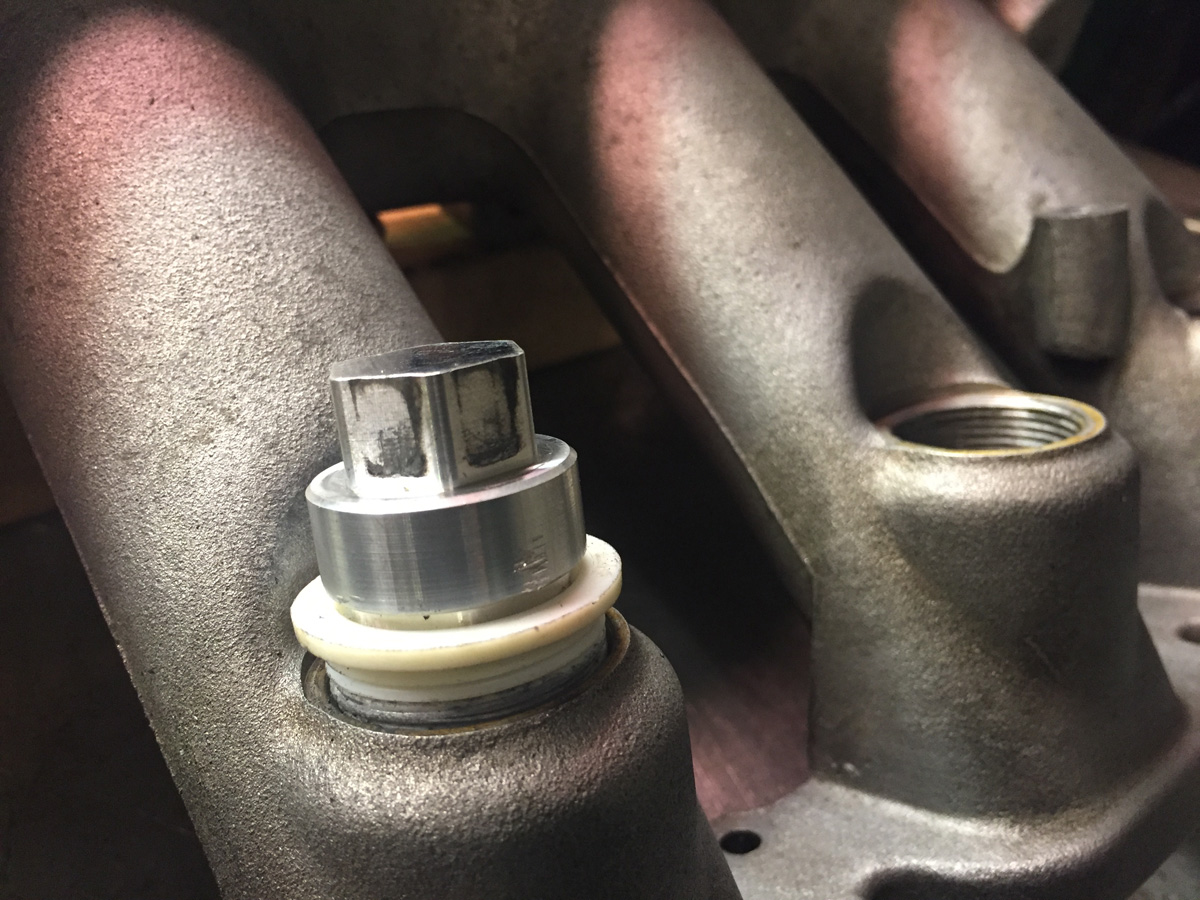
Something new that I am trying... and it led to another series of challenges... is the intake manifold Phenolic spacer. Now, what does Phenolic mean? It is a thermal do-hickey that prevents heat from the engine block from transmitting to the intake manifold. Reduce heat in the intake manifold means more power (there is a reason that we have FMICs!)..... or, it is really good marketing.
One thing I noticed when taking apart the engine is that the fuel injectors were very loose in the injector cups. It was like throwing a hot dog down a hallway.
So, new injector cups were in order along with new rubber o-rings on the injectors.
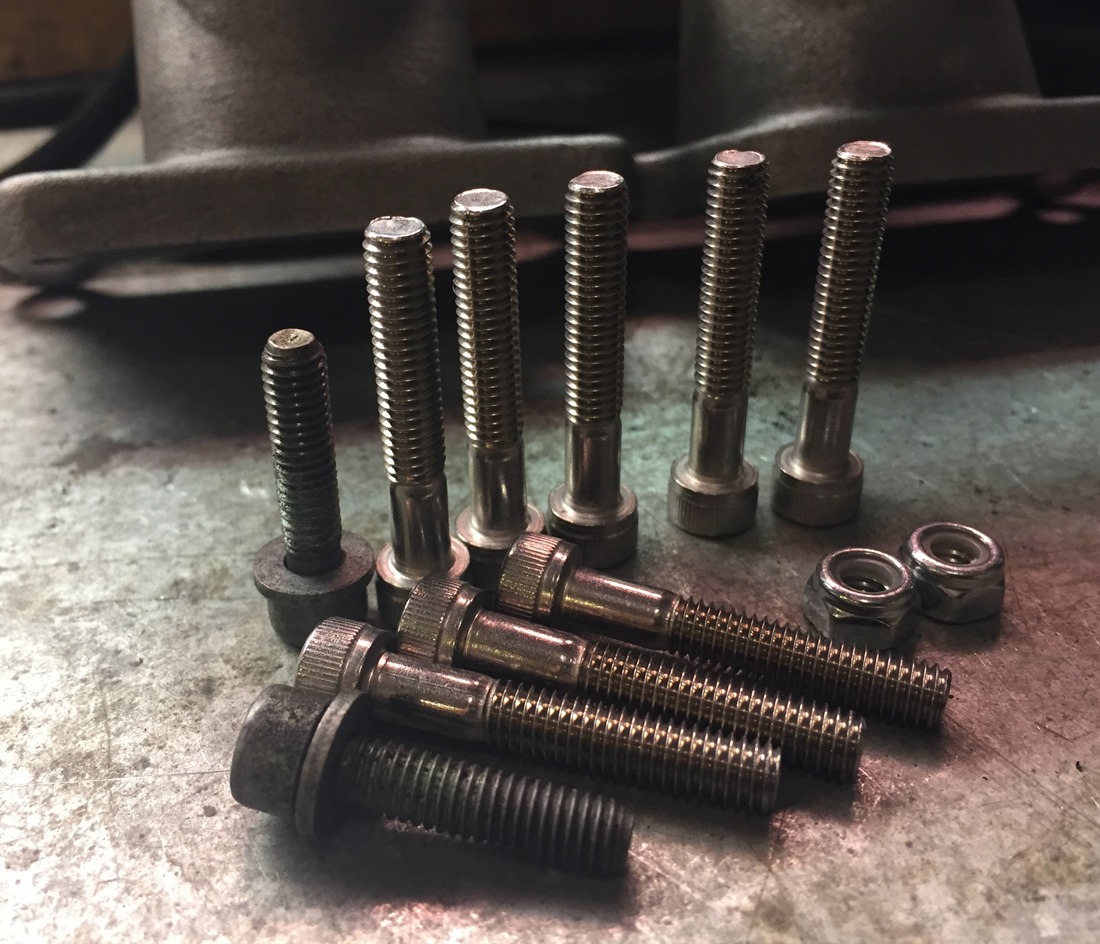
The kit from 034Motorsports also included longer intake manifold bolts and locking nuts. Shorter stock bolts vs. longer 034 bolts pictured.
All assembled and pretty. While I was there, I had to oversize and tap the holes that held the fuel rail and throttle cable holder (another do-hickey) as the 7mm holes in the aluminum intake were less than threaded.

Showing the thickness of the spacer. At least 300 more wHP, I figure. Throw in some stickers and that is 305 wHP more! Mother of God! (Super trooper reference)
Sad part, the internet must have an end.... search for "Mother of God" and it just starts repeating on Google.

Anyway, back at the ranch....
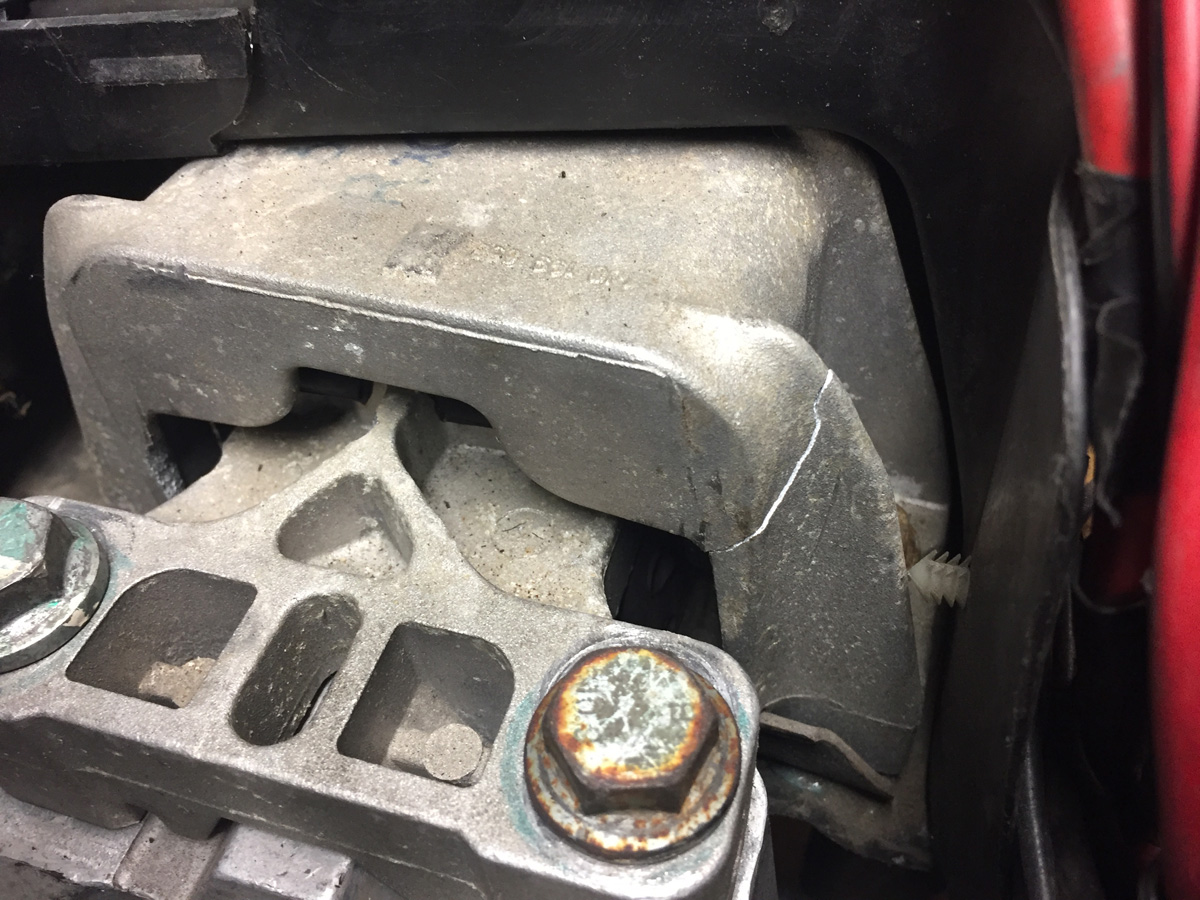
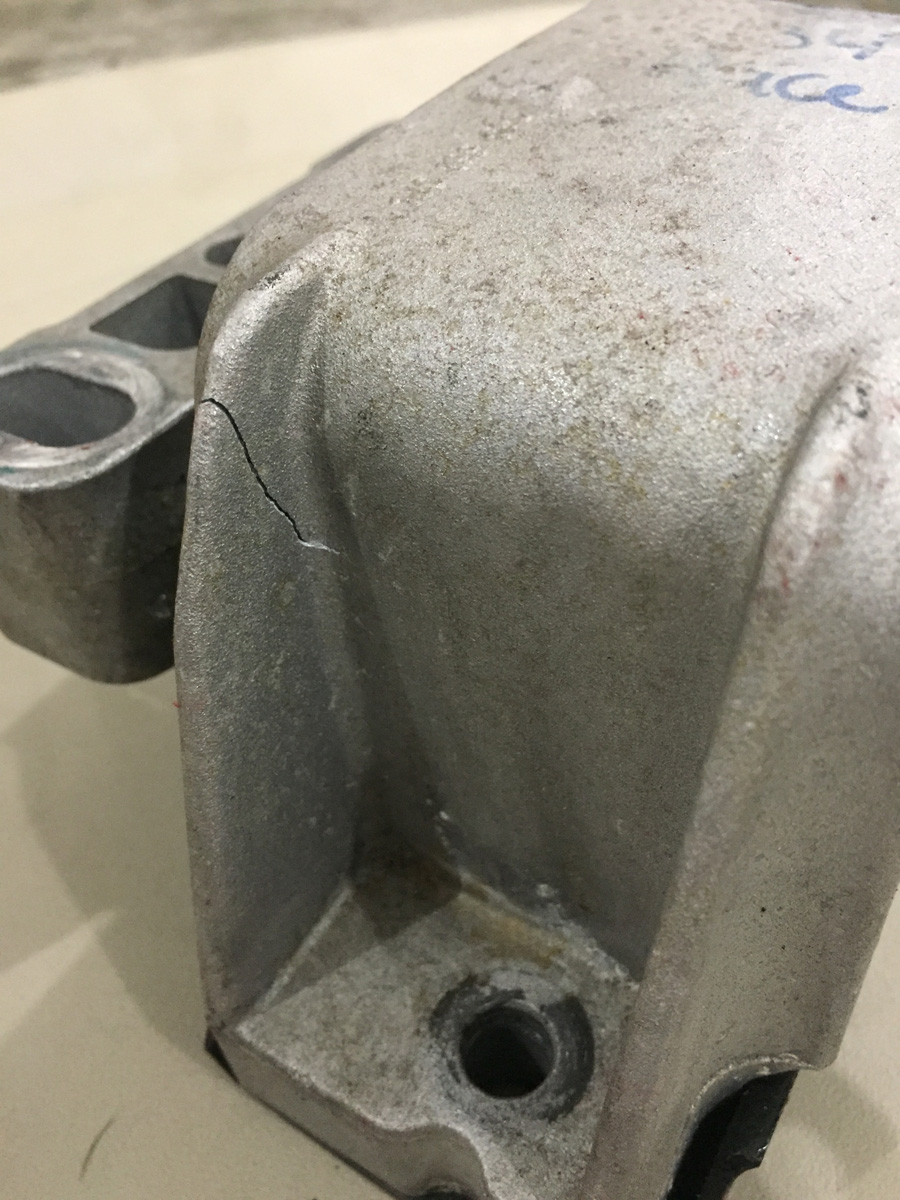
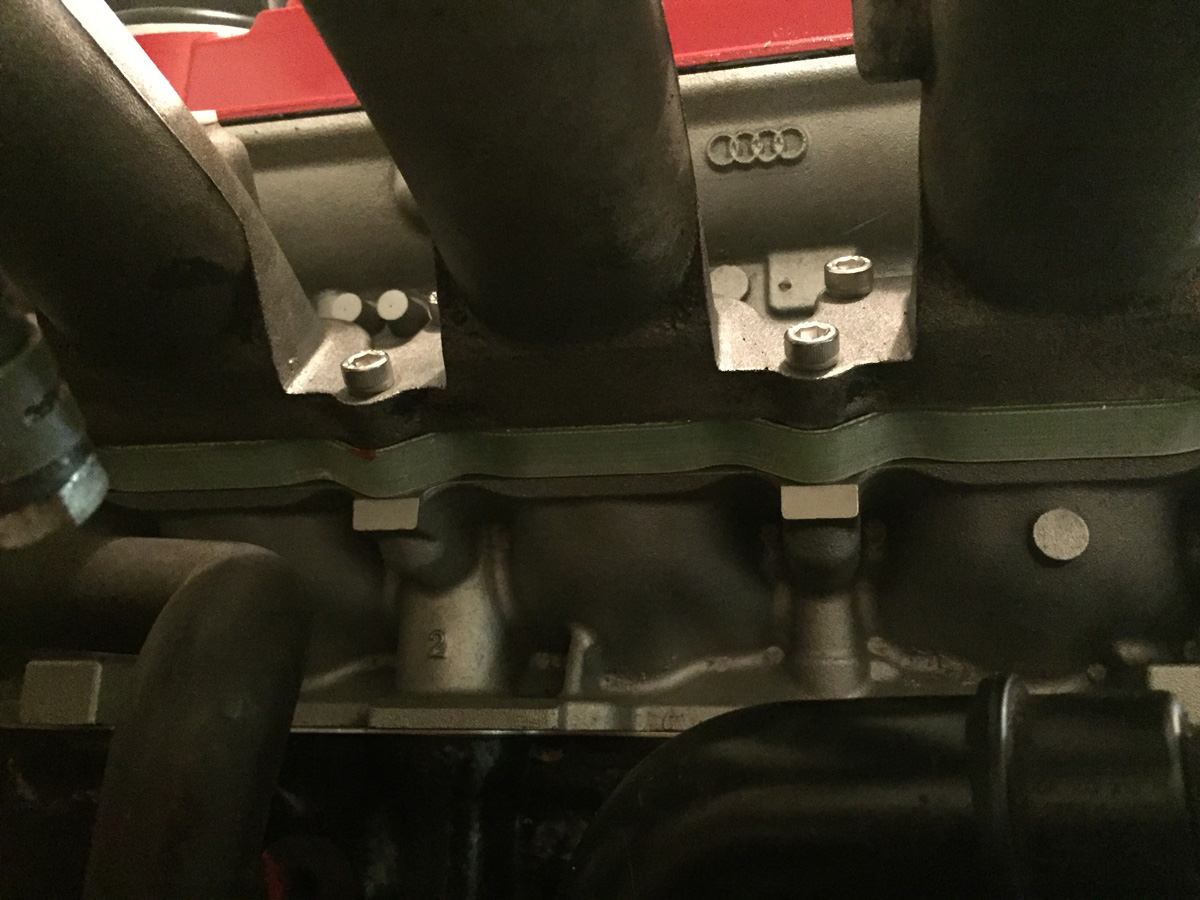
New challenge with the spacer is that the bracket that holds the intake manifold in place, something that I have not used for years, but figured the additional leverage from the extended mounting point with the spacer would warrant it, does not line up anymore. English teacher would have shot me for that terribly assembled sentence. Oh well.
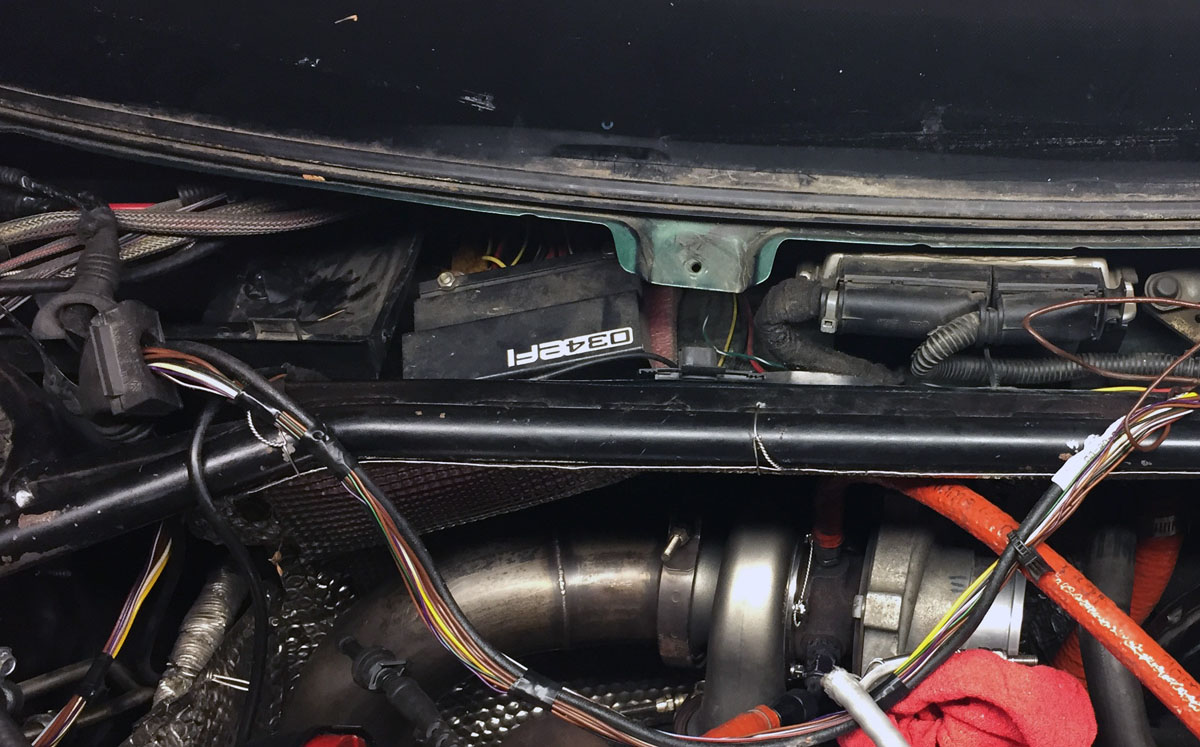
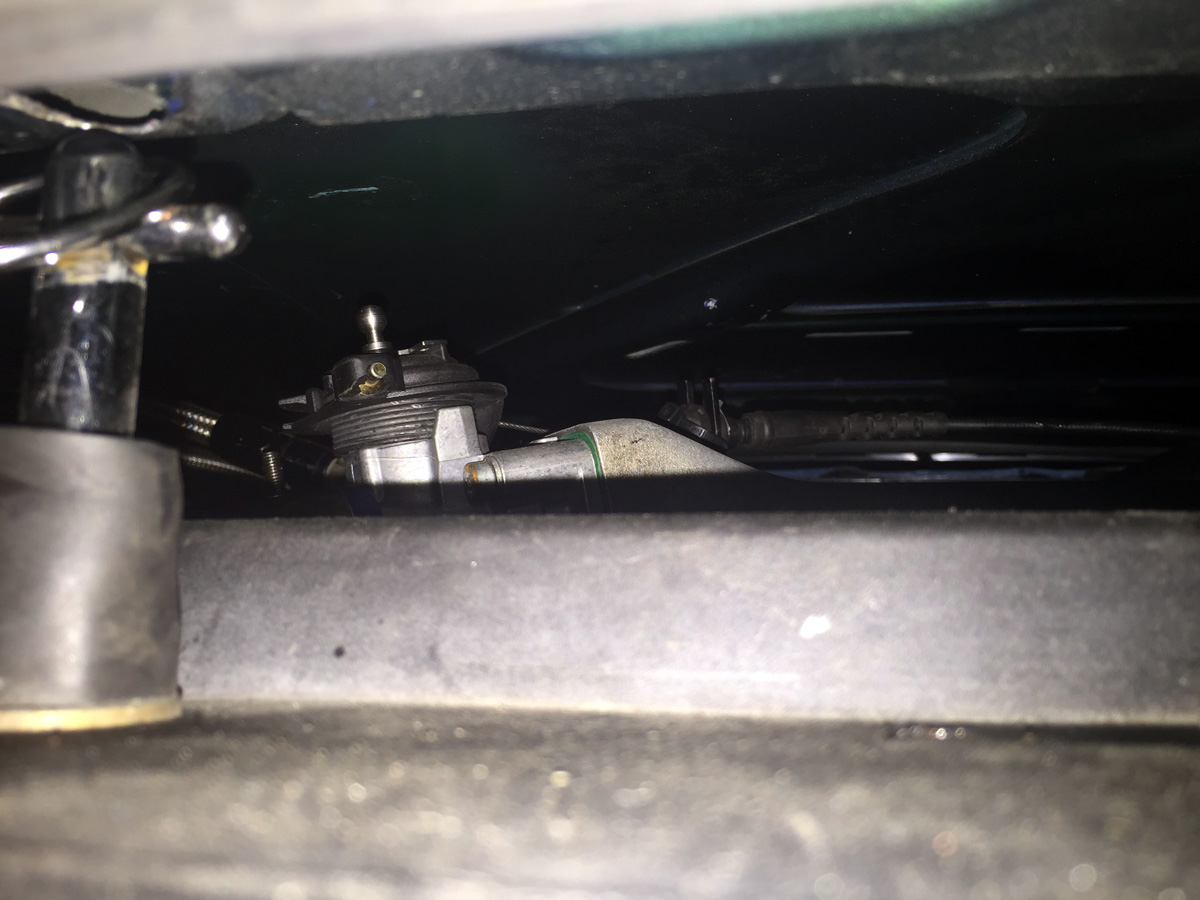
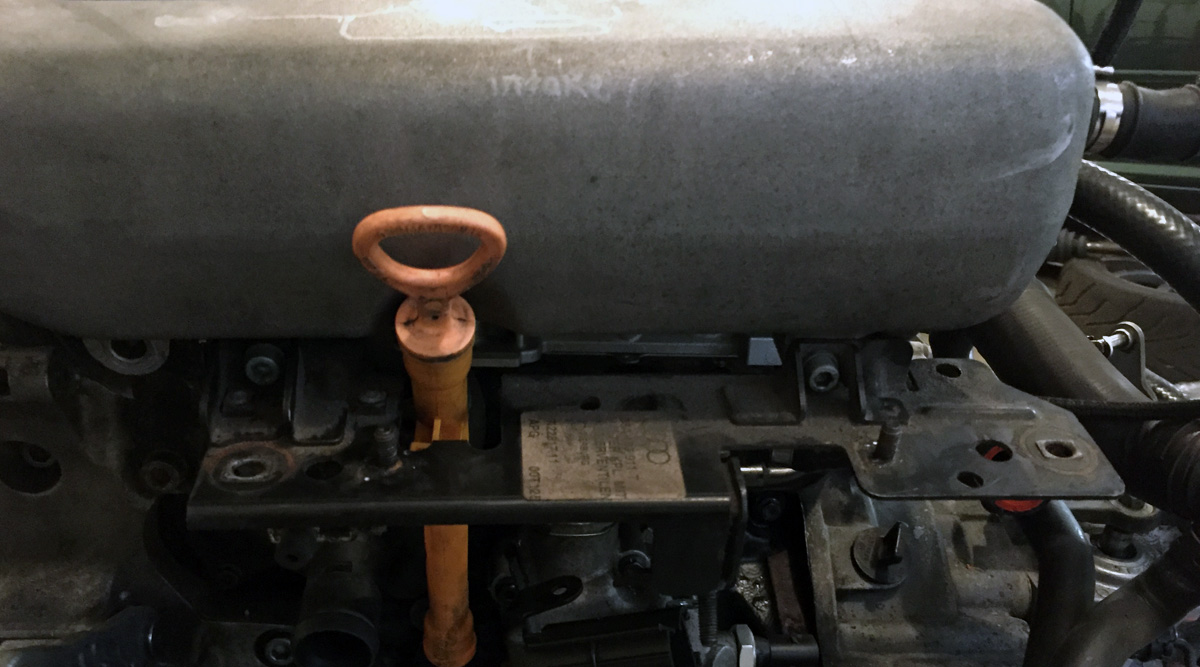
Also, at Ascutney #1 (2016), I dumped a bit of oil on my skid plate because the plastic oil dipstick was dislodged (or was never correct pushing into place). I haven't used the stock dipstick holder down do-hickey thing-ah-mabob for years. Something else I was going to solve while putting the engine back together.
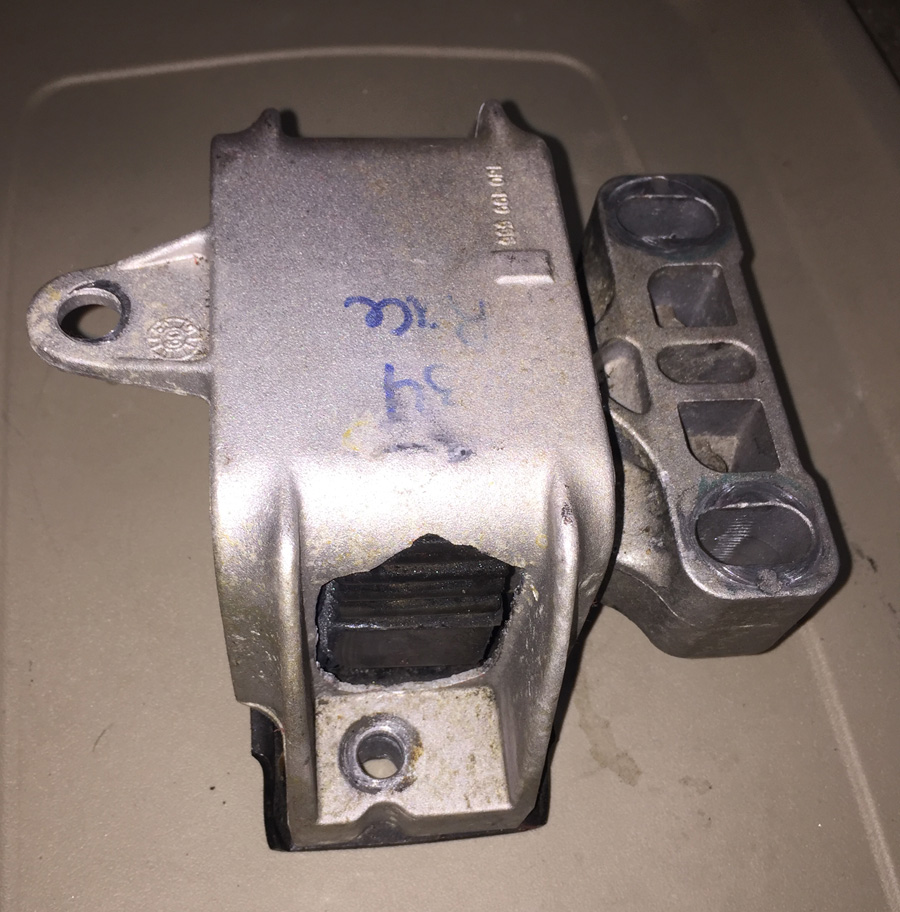
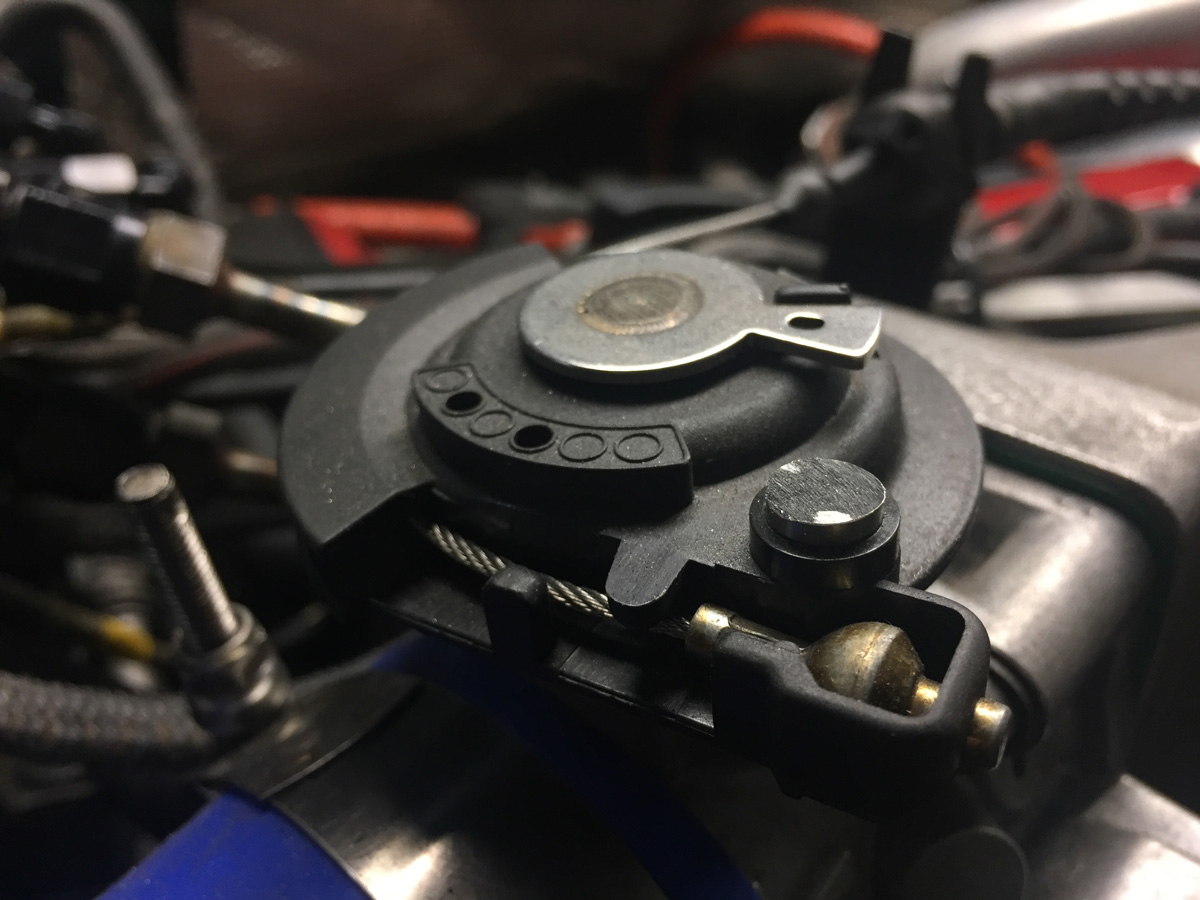
Image of the stock holder-downer thingy. It is quite long as it holds various electronic bits, emissions VTAMs, blacks tubes, and other various things that I do not need. VTAM is an old IBM term for those of you playing the home game. I mounted the stock brace (that I had to grab from a junk car recently as I discarded mine years ago) to give me some ideas of what I could do. The right most bolt is currently in service holding the Kales Custom oil separator. I could use the stock bracket and the oil separator with the stock bolt, but all I needed was something simple to hold down a flimsy plastic tube. Enter Mr. Hacksaw and Mrs. Dremel.
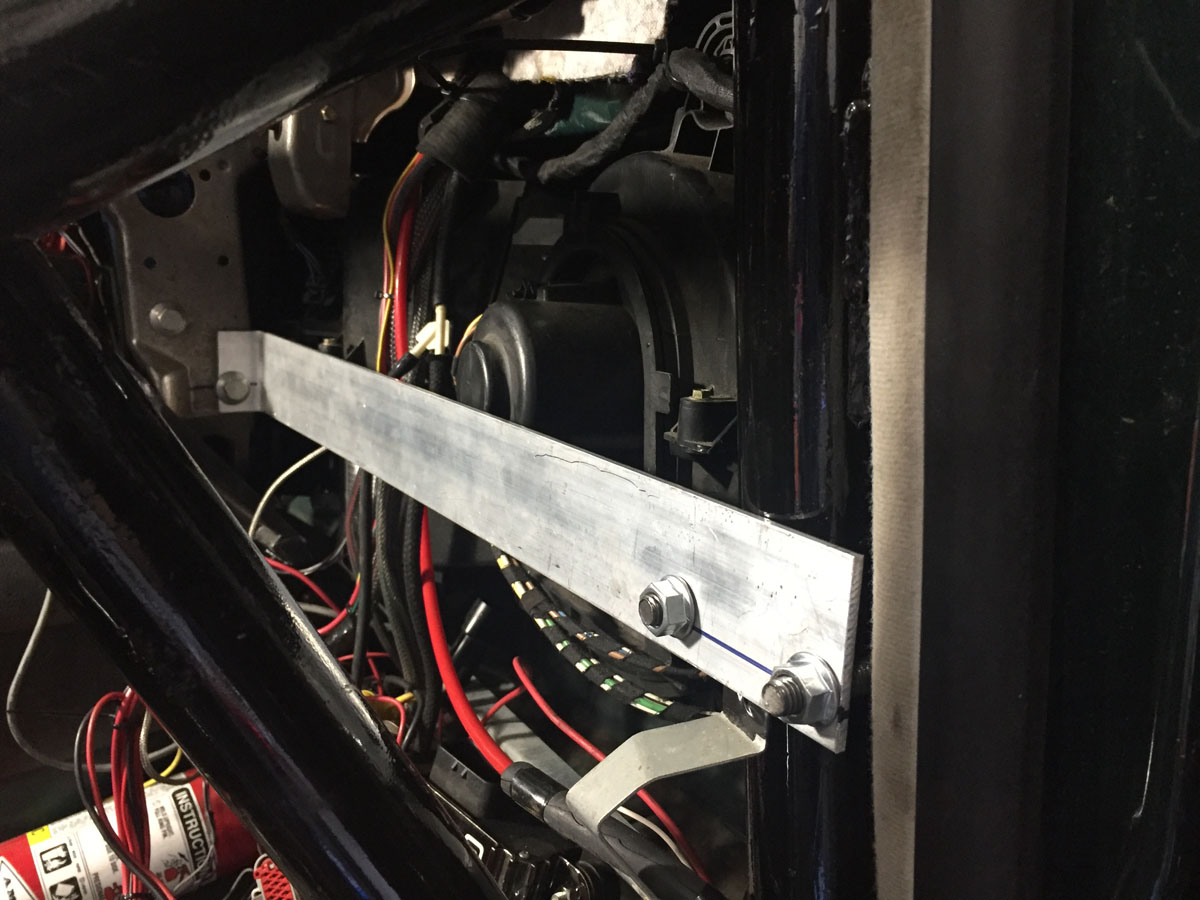
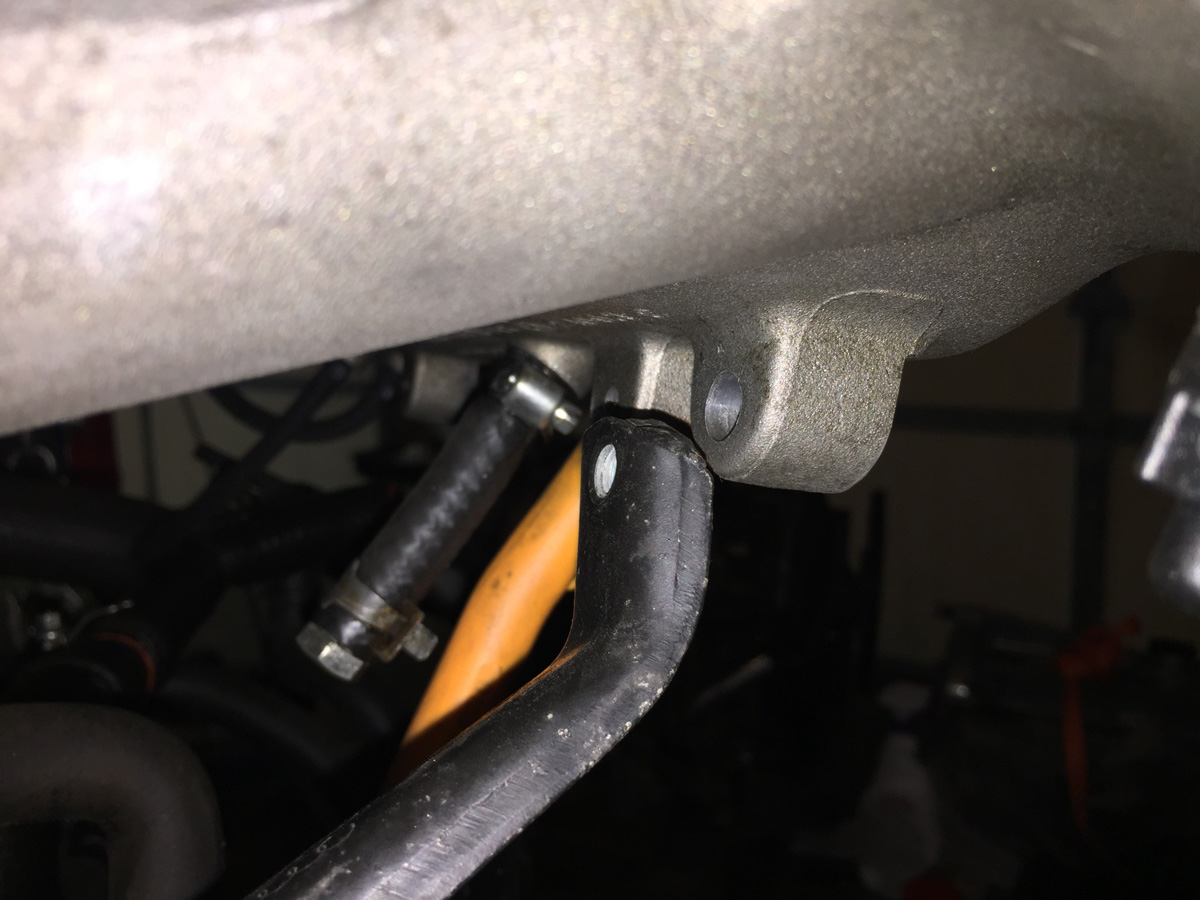
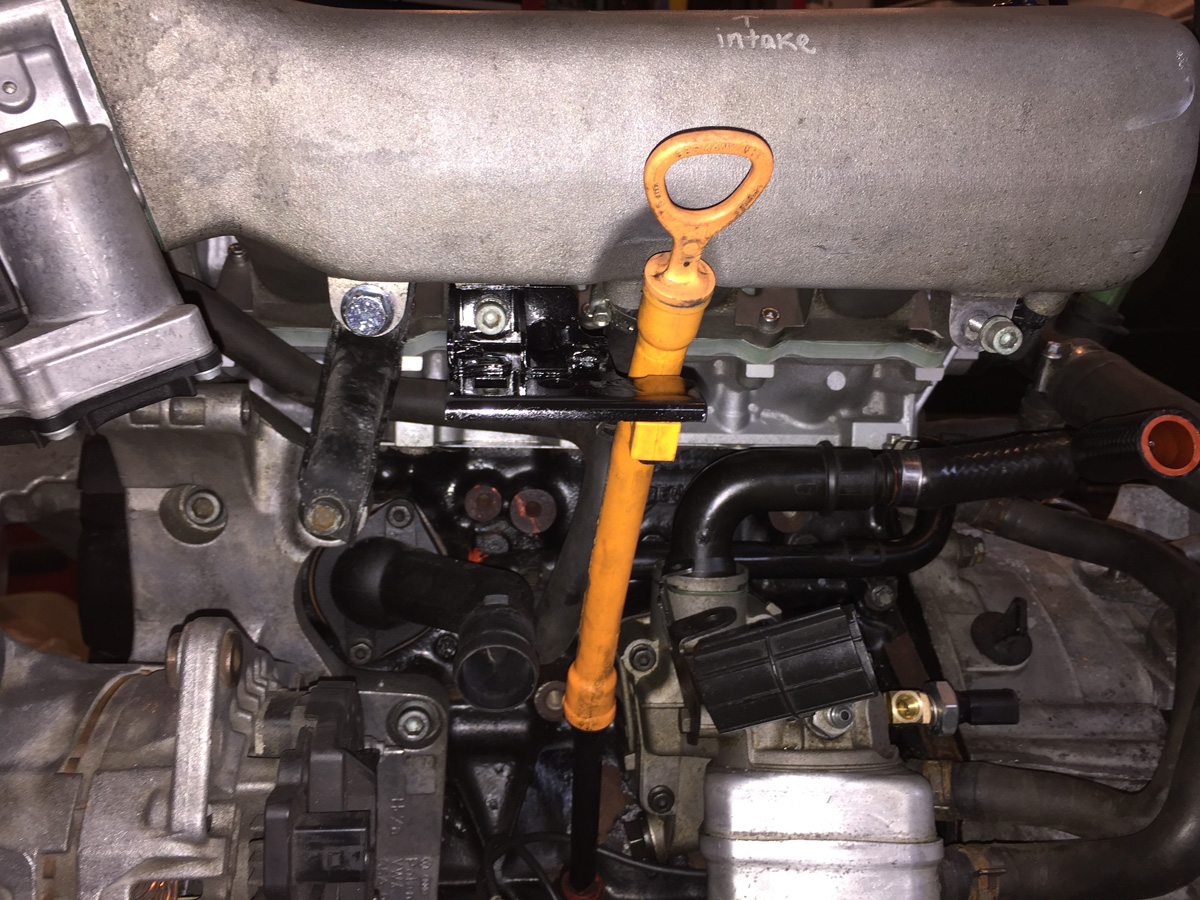
Longer bolt installed with aluminum spacer. I had to flatten out the brace a bit to extended it and then bend the end so that the bolt hole would align with the hole on the intake.
Cut down the bracket for the dip stick....
Now the trials and tribulations of cutting one corner (by accident). When rebuilding this engine, I used all new bolts (paying close attention to the TTY bolts). But.... I did not replace the front main seal aluminum plate. I did replace the seal, naturally, but generally, there is no reason to replace the plate.
Unless the bolt holes were stripped by whomever owned the engine previously.
No problem... one size up (7mm to 8mm) on the bolts.
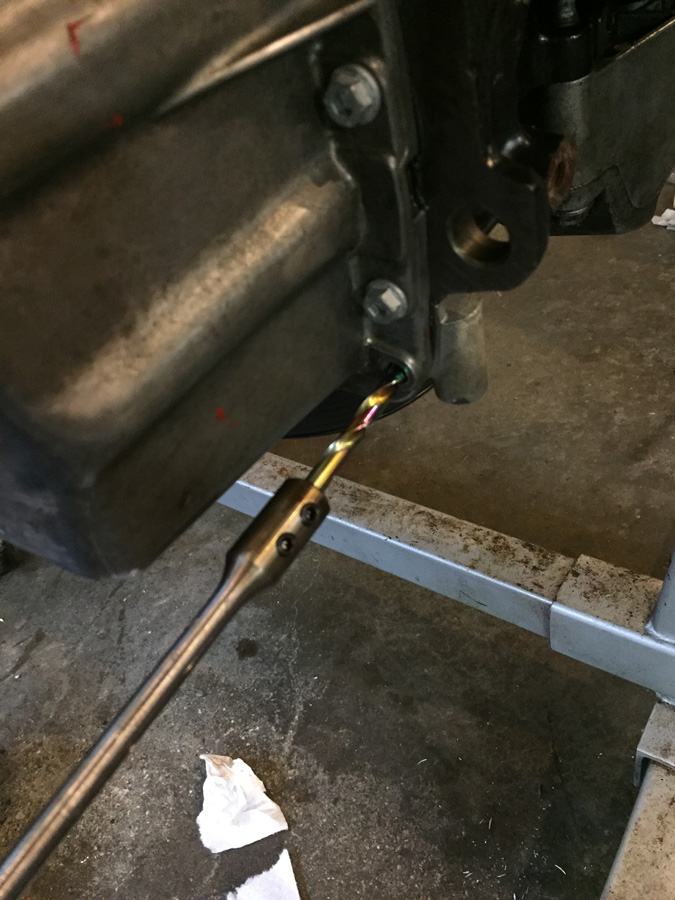
Except, there just had to be a problem. The chuck on the drill would not clear the oil pan. I already applied the sealant to the block and pan and installed the other 18 pan bolts and torqued the three transmission to oil pan bolts. Didn't want to take it apart for the two holes that were stripped on the front main seal plate.
So, I needed to get a longer 17/64" drill bit (what is needed for a 8mm tap) or an extension for the drill. That's what she said!
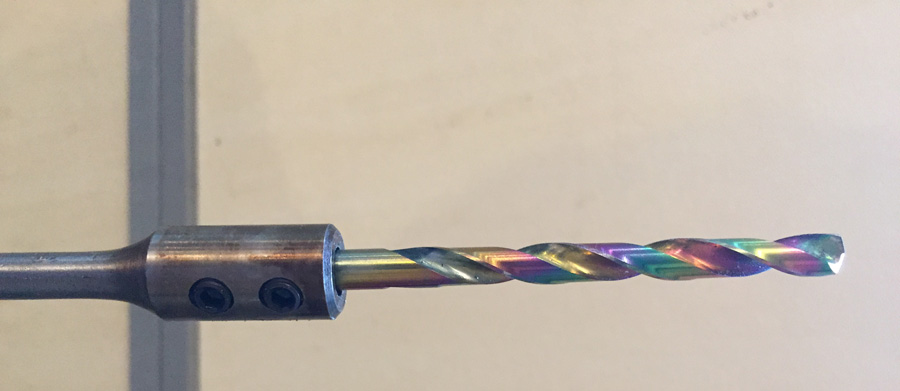
I could not find a longer drill bit (it is Vermont, ya know), but I found a 12" extension that used two hex set screws to hold in the 1/4 drill bit.
Except mine is 17/64". Doh!
The short version, and three drill bits later, I had to brill a hole in the base of my drill press so that the 12" rod would be low enough to be able to drill into it, drill for a long time with cheap drill bits in hardened steel, and finally get the bit to work with the extension.
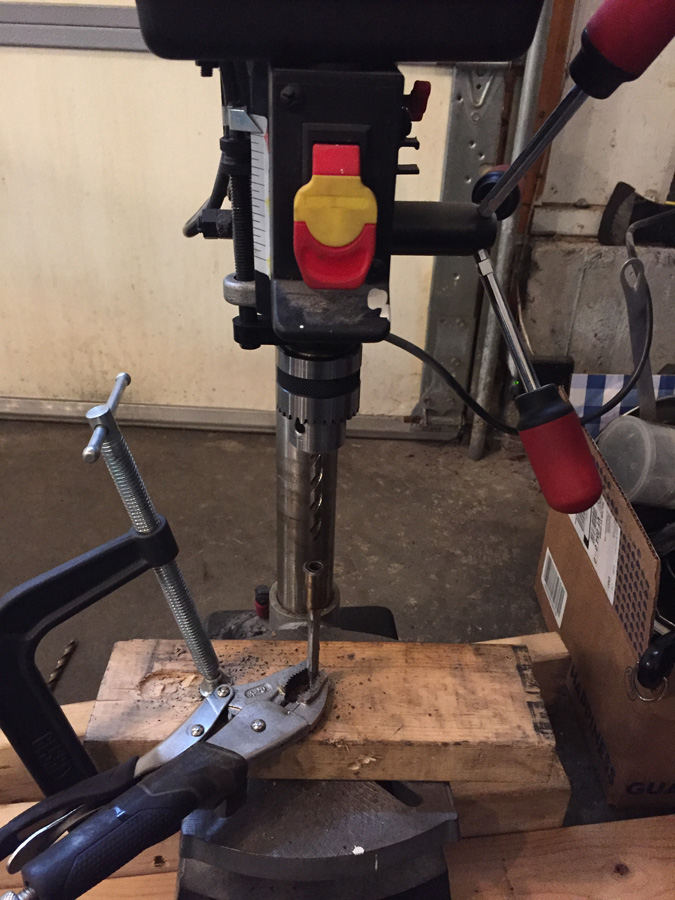
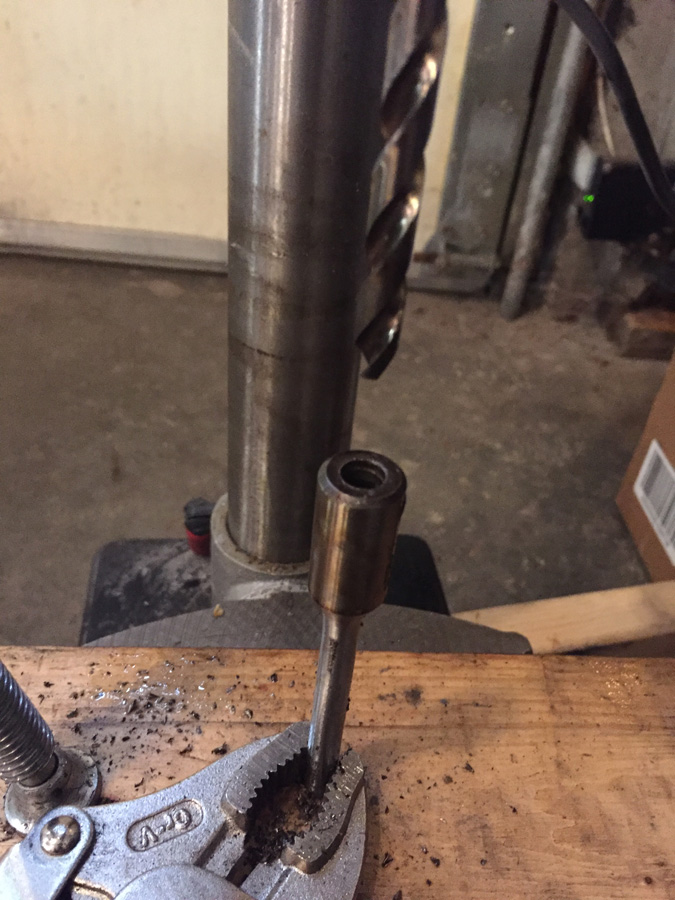
Drilling one of the two holes....
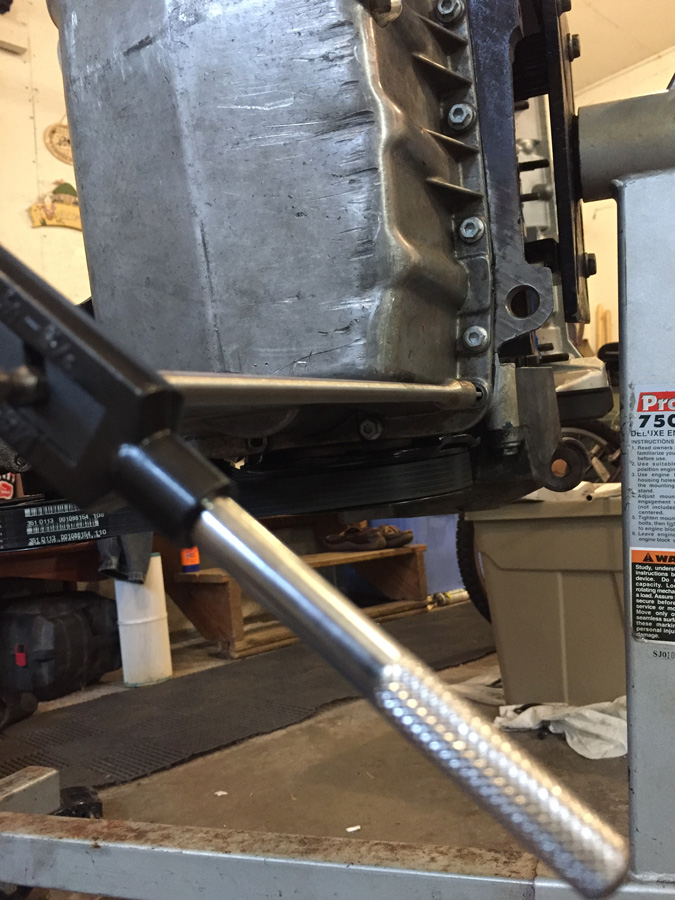
Worked out nicely with the tap as the tap handle that came with the kit did not hold onto the tap very well.
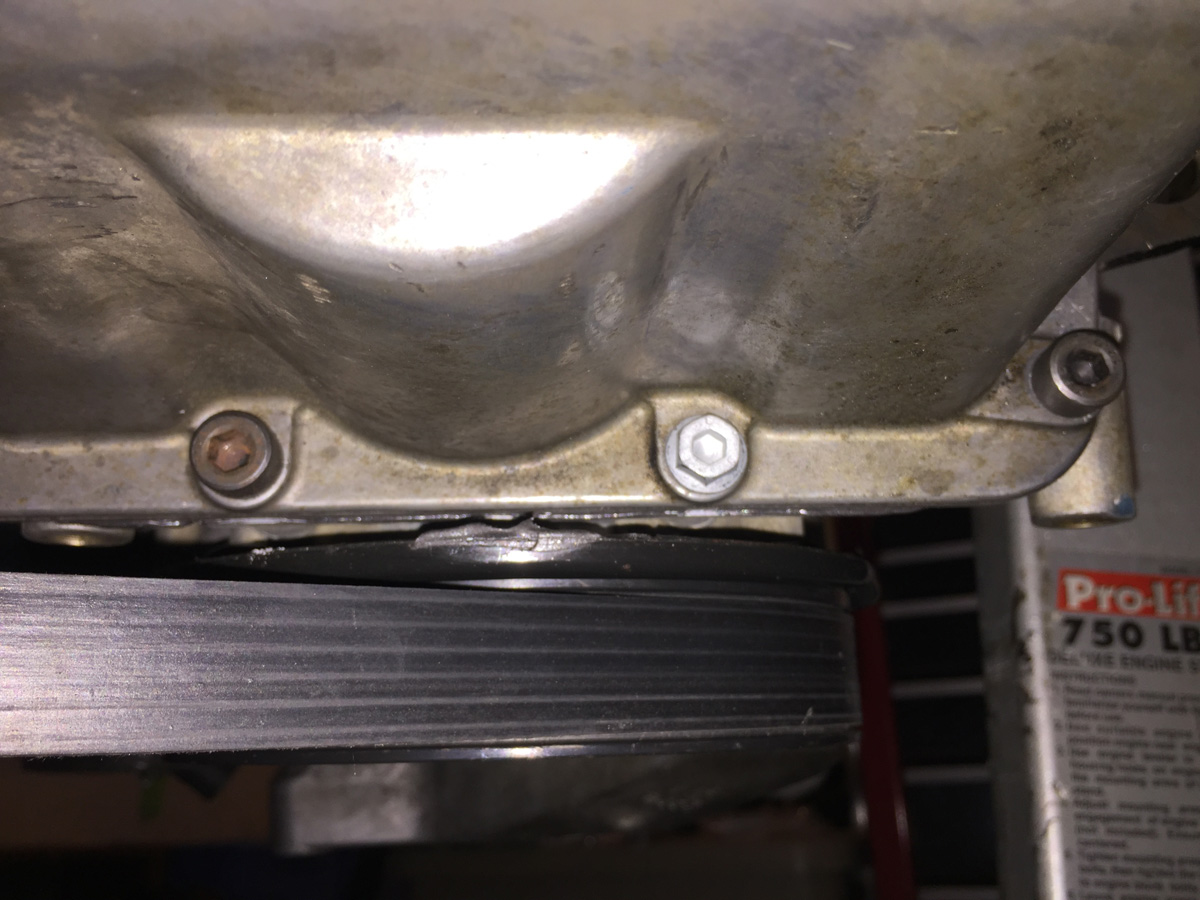
Two 8mm non-TTY bolts holding the oil pan in place much better than the 7mm TTY bolts with threadless holes.
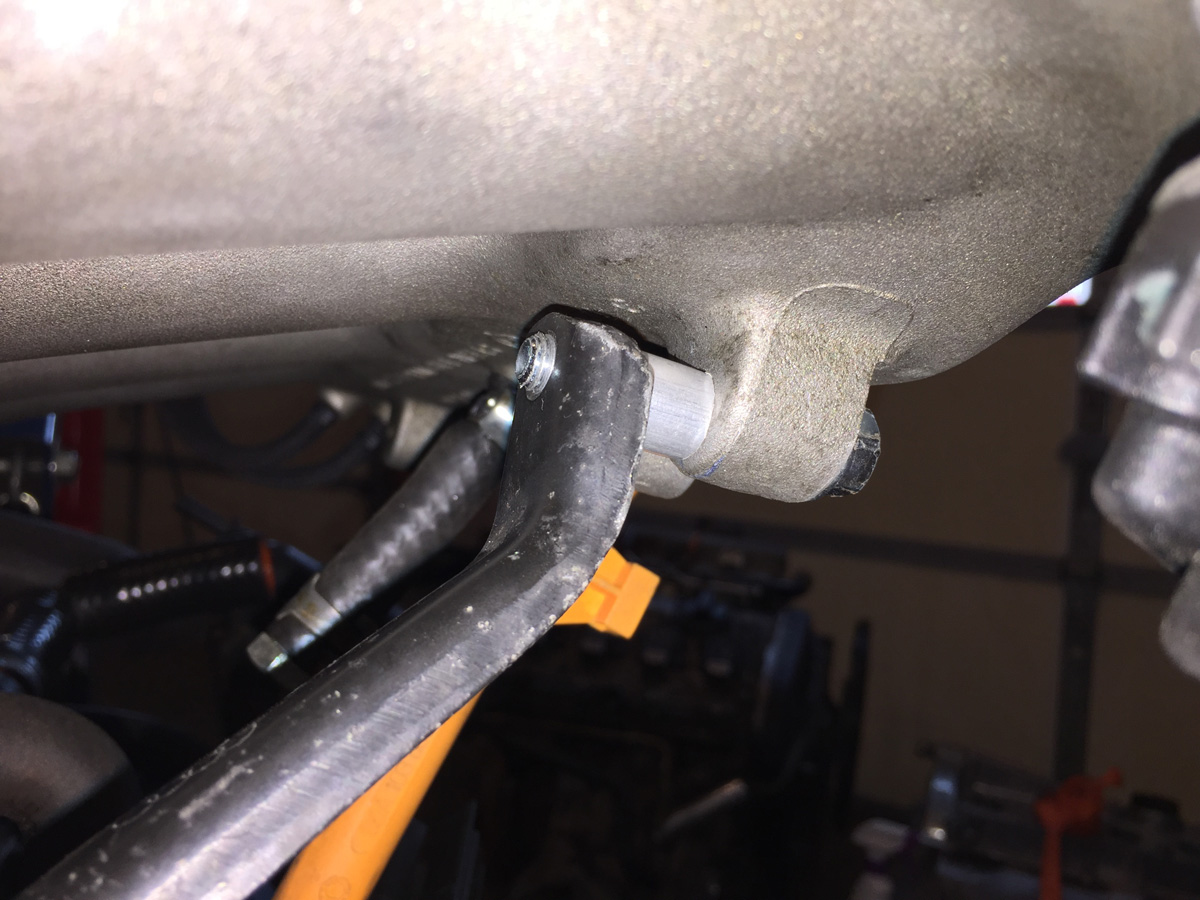
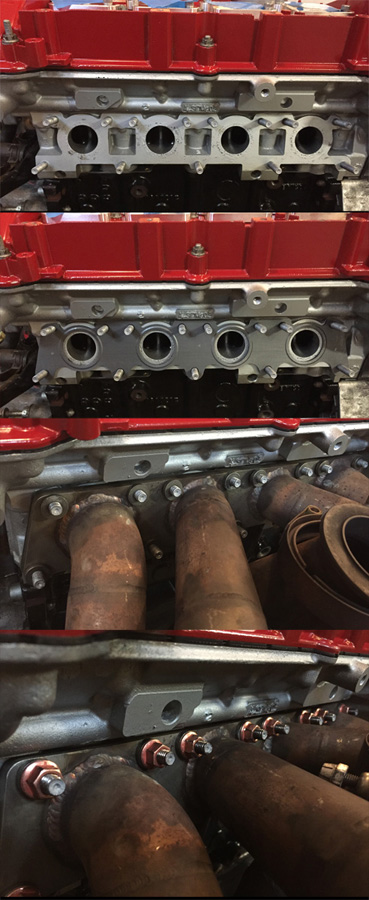
Pretty exhaust side of the engine with new locking nuts. I really like the oblong nuts better than the split locking nuts.
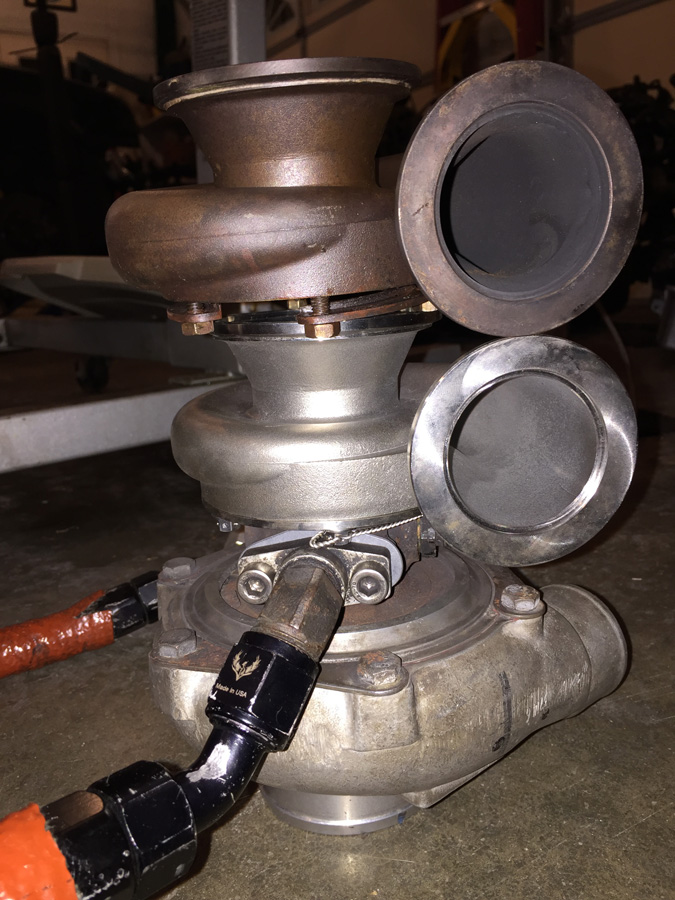
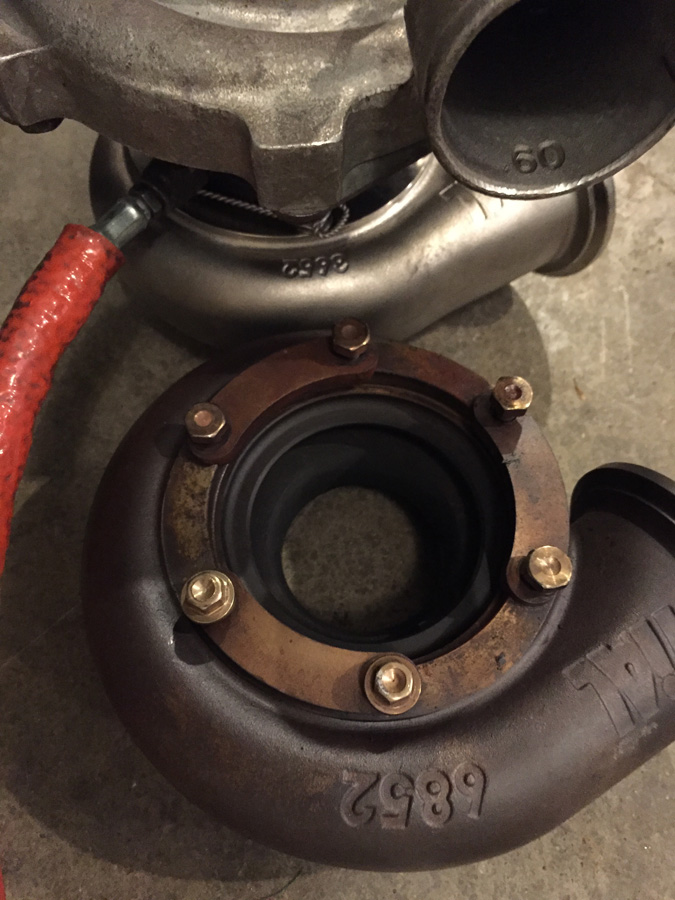
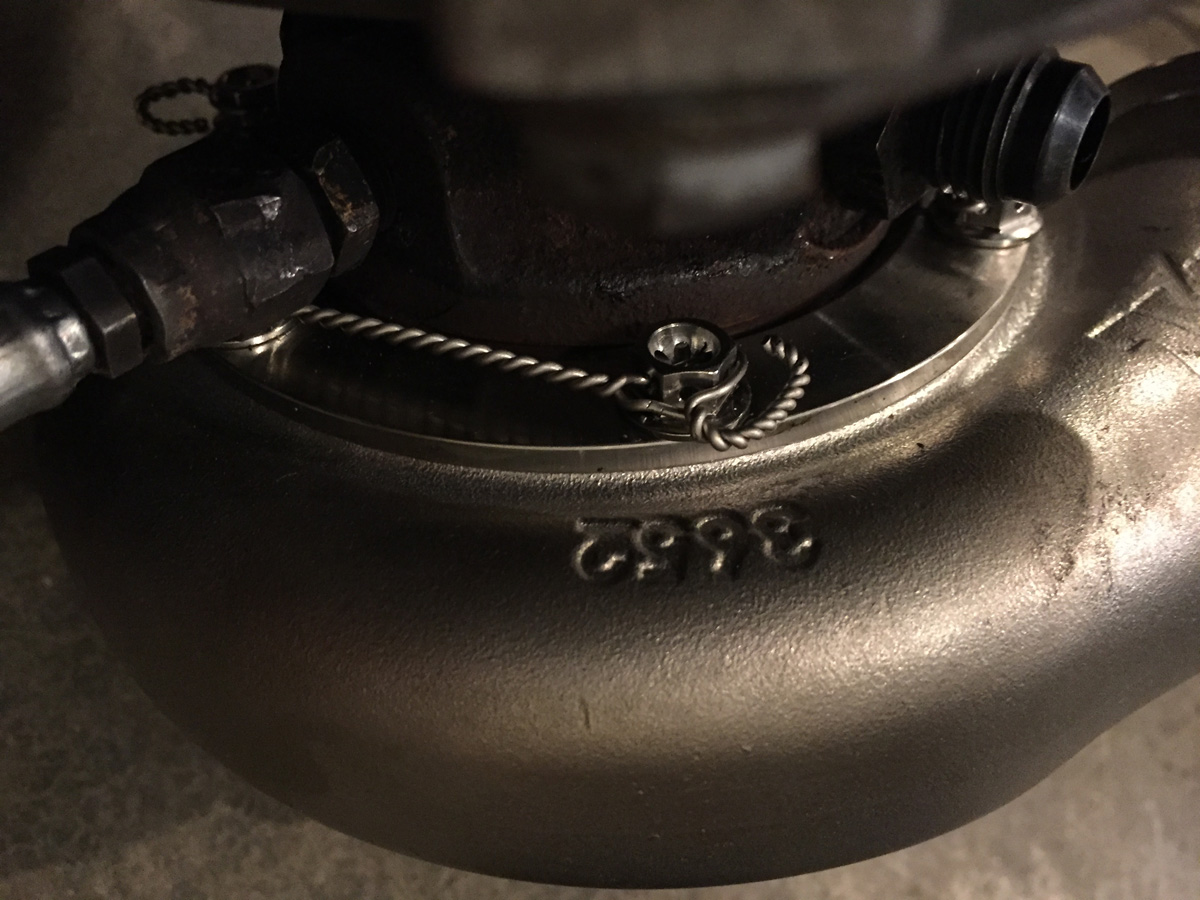
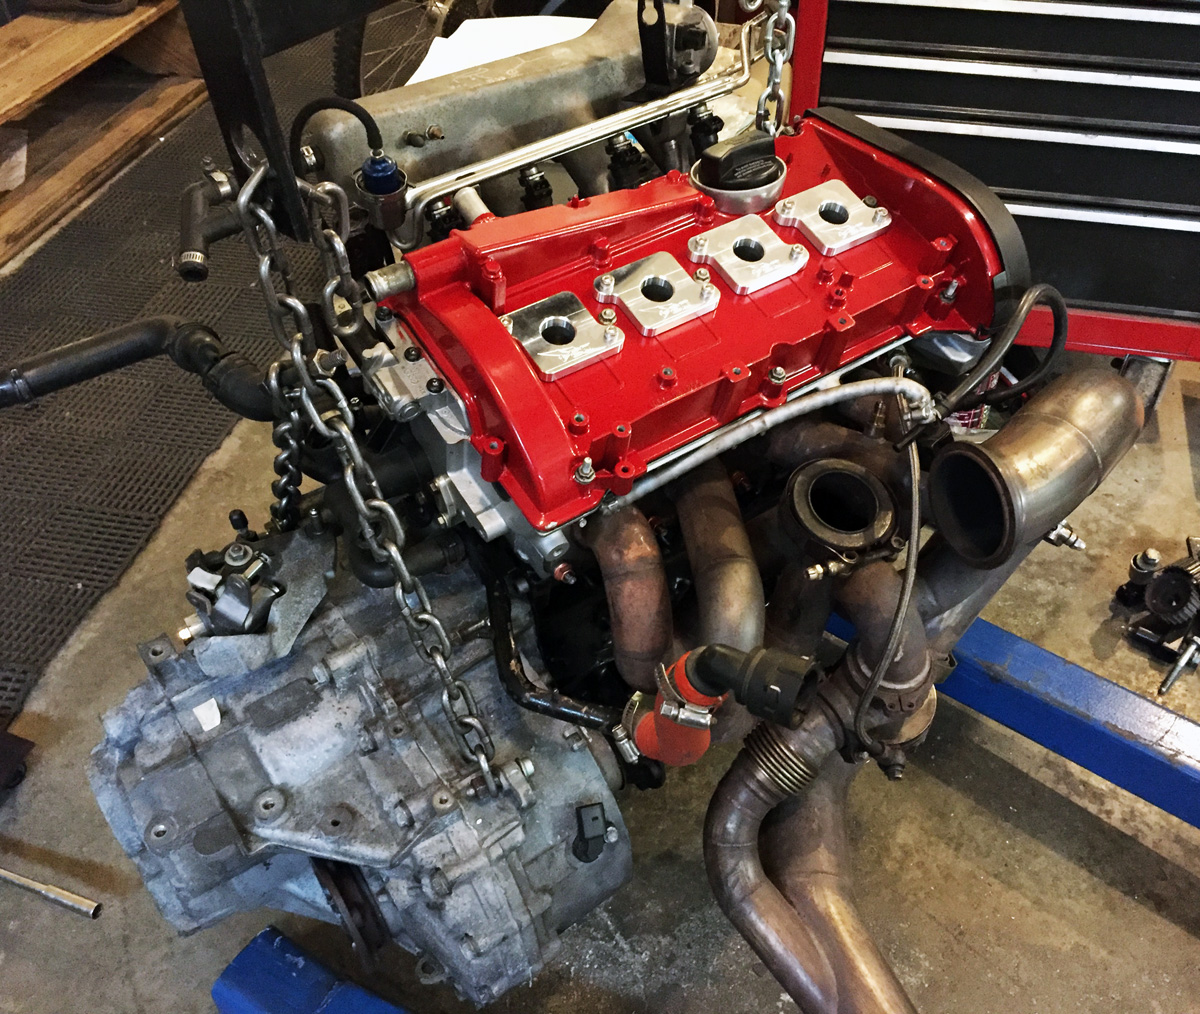
100% together (minus turbo).
Spending time rebuilding an engine with no corners cut... well, one, but that was by accident. I did pay for it.
I had one of these for my Rabbit, but never for the 02J (5-speed) or 02M (6-speed).... that usually involved vice grips and screwdrivers. Enter the proper flywheel holder (not recommended for the crankshaft bolt). Easy to use and very effective.
The new block code is "Grrrr".... no idea what it means, but it seems fitting.
Nothing too exciting from the engine build point of view. Bored the block to accept the .5mm oversized piston (82.5mm vs the standard 82mm), new valve seals, new rings (naturally), and everything was cleaned and machined by http://www.rpmenginesvt.com (Georgia, VT)
Add on the transmission... my new favorite (and easy) way to install the transmission.... unless you have to bolt on the oil pan afterwards (where rotating the engine/trans as a single unit is a royal PITA).
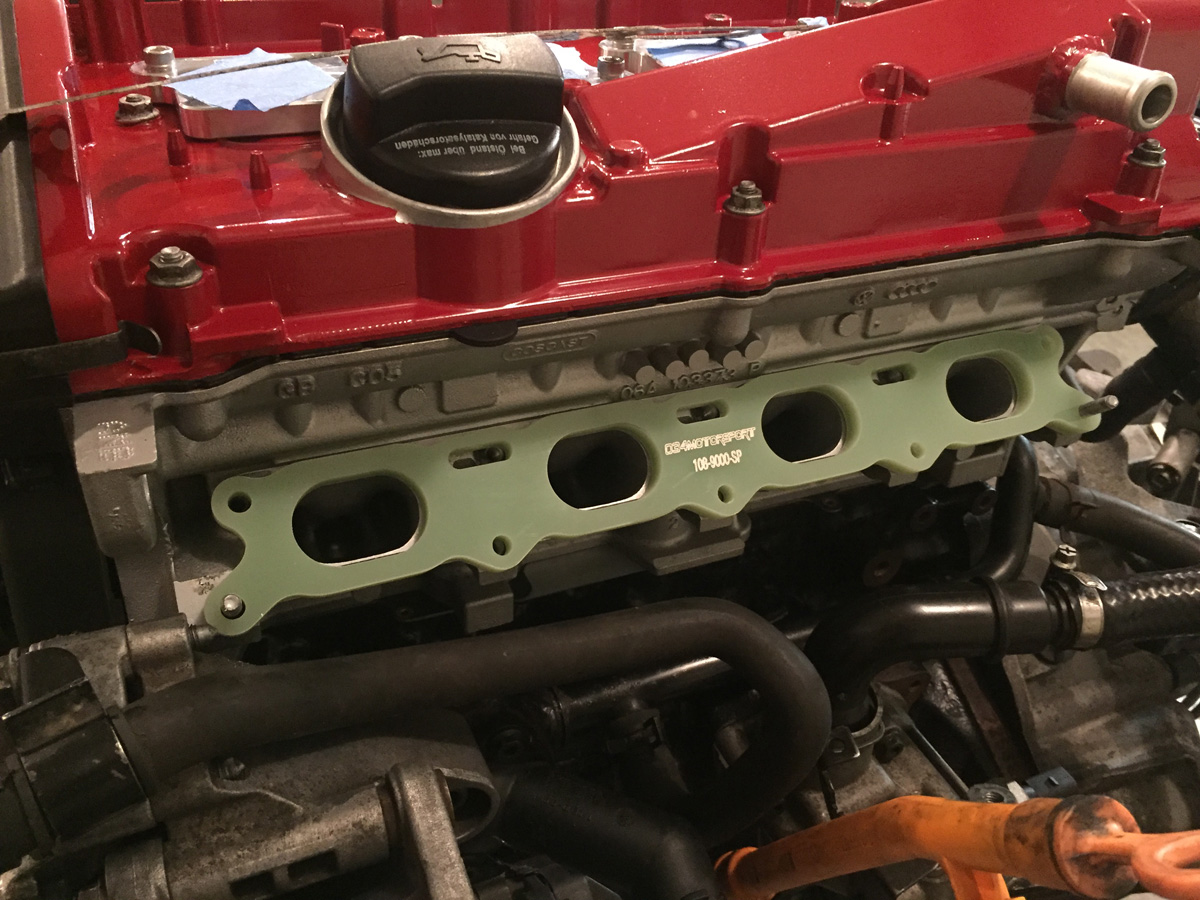
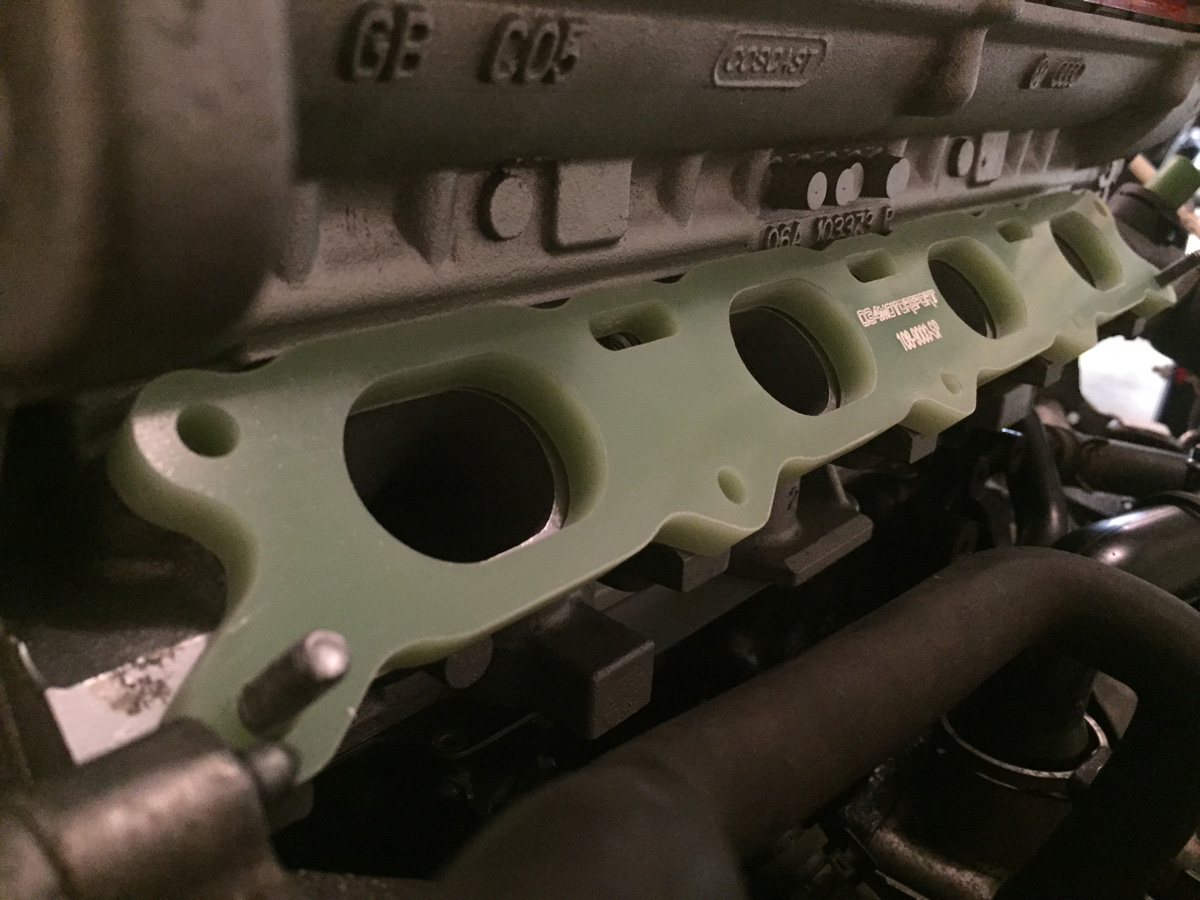
Something new that I am trying... and it led to another series of challenges... is the intake manifold Phenolic spacer. Now, what does Phenolic mean? It is a thermal do-hickey that prevents heat from the engine block from transmitting to the intake manifold. Reduce heat in the intake manifold means more power (there is a reason that we have FMICs!)..... or, it is really good marketing.
One thing I noticed when taking apart the engine is that the fuel injectors were very loose in the injector cups. It was like throwing a hot dog down a hallway.
So, new injector cups were in order along with new rubber o-rings on the injectors.
The kit from 034Motorsports also included longer intake manifold bolts and locking nuts. Shorter stock bolts vs. longer 034 bolts pictured.
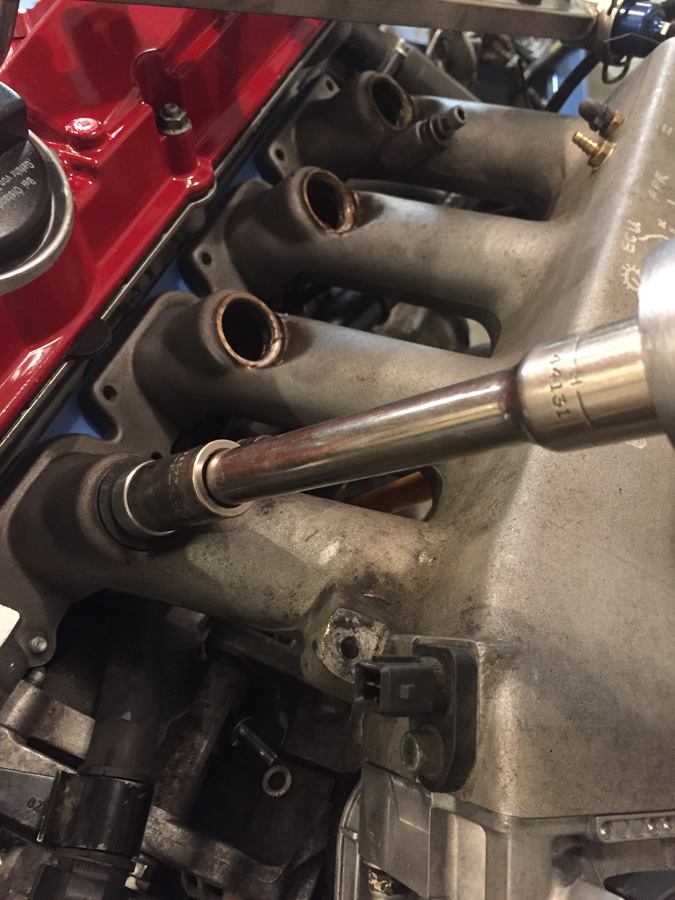
All assembled and pretty. While I was there, I had to oversize and tap the holes that held the fuel rail and throttle cable holder (another do-hickey) as the 7mm holes in the aluminum intake were less than threaded.
Showing the thickness of the spacer. At least 300 more wHP, I figure. Throw in some stickers and that is 305 wHP more! Mother of God! (Super trooper reference)
Sad part, the internet must have an end.... search for "Mother of God" and it just starts repeating on Google.
Anyway, back at the ranch....
New challenge with the spacer is that the bracket that holds the intake manifold in place, something that I have not used for years, but figured the additional leverage from the extended mounting point with the spacer would warrant it, does not line up anymore. English teacher would have shot me for that terribly assembled sentence. Oh well.
Also, at Ascutney #1 (2016), I dumped a bit of oil on my skid plate because the plastic oil dipstick was dislodged (or was never correct pushing into place). I haven't used the stock dipstick holder down do-hickey thing-ah-mabob for years. Something else I was going to solve while putting the engine back together.
Image of the stock holder-downer thingy. It is quite long as it holds various electronic bits, emissions VTAMs, blacks tubes, and other various things that I do not need. VTAM is an old IBM term for those of you playing the home game. I mounted the stock brace (that I had to grab from a junk car recently as I discarded mine years ago) to give me some ideas of what I could do. The right most bolt is currently in service holding the Kales Custom oil separator. I could use the stock bracket and the oil separator with the stock bolt, but all I needed was something simple to hold down a flimsy plastic tube. Enter Mr. Hacksaw and Mrs. Dremel.
Longer bolt installed with aluminum spacer. I had to flatten out the brace a bit to extended it and then bend the end so that the bolt hole would align with the hole on the intake.
Cut down the bracket for the dip stick....
Now the trials and tribulations of cutting one corner (by accident). When rebuilding this engine, I used all new bolts (paying close attention to the TTY bolts). But.... I did not replace the front main seal aluminum plate. I did replace the seal, naturally, but generally, there is no reason to replace the plate.
Unless the bolt holes were stripped by whomever owned the engine previously.
No problem... one size up (7mm to 8mm) on the bolts.
Except, there just had to be a problem. The chuck on the drill would not clear the oil pan. I already applied the sealant to the block and pan and installed the other 18 pan bolts and torqued the three transmission to oil pan bolts. Didn't want to take it apart for the two holes that were stripped on the front main seal plate.
So, I needed to get a longer 17/64" drill bit (what is needed for a 8mm tap) or an extension for the drill. That's what she said!
I could not find a longer drill bit (it is Vermont, ya know), but I found a 12" extension that used two hex set screws to hold in the 1/4 drill bit.
Except mine is 17/64". Doh!
The short version, and three drill bits later, I had to brill a hole in the base of my drill press so that the 12" rod would be low enough to be able to drill into it, drill for a long time with cheap drill bits in hardened steel, and finally get the bit to work with the extension.
Drilling one of the two holes....
Worked out nicely with the tap as the tap handle that came with the kit did not hold onto the tap very well.
Two 8mm non-TTY bolts holding the oil pan in place much better than the 7mm TTY bolts with threadless holes.
Pretty exhaust side of the engine with new locking nuts. I really like the oblong nuts better than the split locking nuts.
100% together (minus turbo).